How To Make A Jewelry Box
A year and a half a go i got super lucky and stumbled into a local bar with a few of my buddies. Not thinking this evening would change my life forever. As I casually guzzled down a few bud lights, I noticed this girl sort of standing a few feet away, all by herself. Basically her friend she was with was talking to some dude. So being the big bubbly idiot I am, I walked up to her, and we started to talk. Wa year and a half later, two golden retrievers, a lot of great memories later, my Girlfriend Sara is turning 30. Since the first week we met, she has been asking me about a jewelry box. So I thought this would be a perfect occasion to make her one. So here this post is about How To Make A Jewelry Box.

Check out the Full Build Video Here
How To Make A Jewelry Box
- Break Down Material
- Glue Up Any Panels
- Cut Joinery
- Rough Cut Shelf & Drawer Fronts
- Fit Drawer Front Spacing
- Cut Drawer Parts & Joinery (Half Blind Dovetails)
- Cut Drawer Side Rails
- Cut Joinery For Drawer Slides
- Glue UP Drawers
- Cut Stock For Lid
- Cut Drawer Pulls
- Route Out Drawer Pull Inset
- Sand & Finish
- Sand & Apply Finish & Flock
- Add Hardware
Before building this project you’re going to want to check out a few tools I recommend!
General Tools
Hand Tools– Check Out My Full Kit!
Materials
- Wenge
- White Oak
- Brusso 95* Hinges
- Brass Block
- Titebond II Dark Wood Glue
Affiliate links are posted on this page. For more information on my Affiliate disclosure, check out my Disclosure Page.
Step 1: Break Down Material
Start out by milling down your stock for the build. For this project I mostly use 1/2″ and 3/4″ Stock. Be sure to be selective with your grain patterns here for a perfect match on the box case, Lid, and drawer fronts.
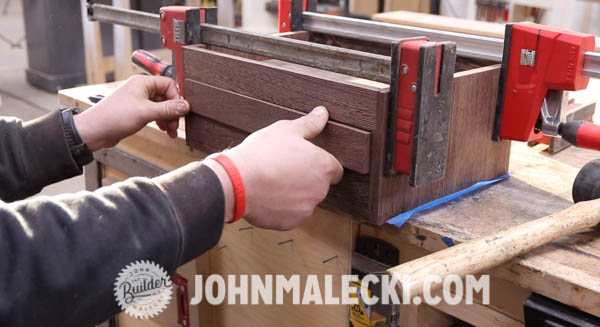
Step 2: Glue Up Any Panels
glue up your panels to match the box case. I chose to use one continuous glue up, and miter it so it has a grain match the whole way around. For this you’ll also want to make sure you have as perfect of a glue seam as possible. hiding it really helps the look
Step 3: Cut Joinery
Start by cutting the miters for the carcass. Then relieve the back panel. Cut the faux drawer slot and the integral shelf.
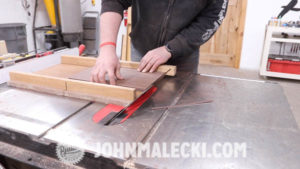
Step 4: Rough Cut Shelf & Drawer Fronts

Measure the interior measurement of the integral drawer. From there you’ll want to cut the shelf to size so it fits snug, not tight. Then do the same with your faux drawer front. Be sure to recognize your reveal on the front, don’t make the same mistake i did in the video.
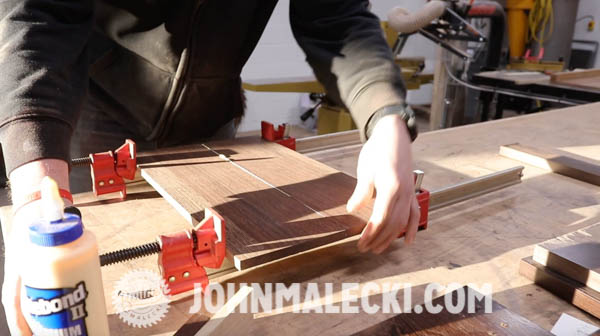
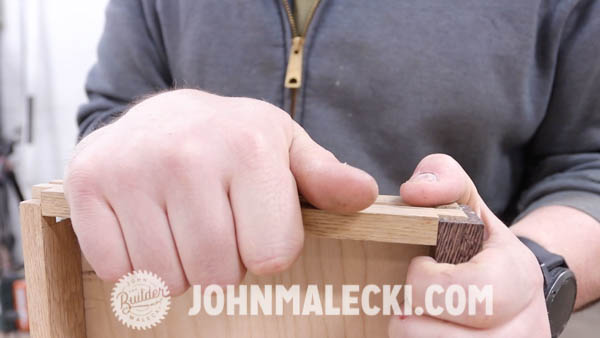
Step 5: Fit Drawer Front Spacing
Space your drawer fronts evenly now. I use a shim and hand planes in order to get the spacing perfect before i get into the drawer joinery. The half blind dovetails allow for spacing before they’re joined
Step 6: Cutting Drawer Parts & Joinery (Half Blind Dovetails)
For this project i am using half blind dovetail drawers because I love the contrasting look of the dovetails and the lighter wood. I took extra time to make sure the alignment and spacing for the pins were to where my drawer slide would line up perfectly with the center pin.
Step 7: Cut Drawer Side Rails
Before you glue up your joinery you’re going to want to make sure you cut the joinery for the slides. Its much easier before the box is glued up, and this way you don’t have to worry about doing a plunge cut.
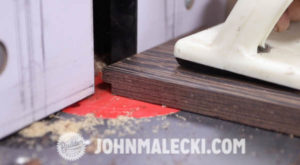
Step 8: Join The Drawer Slides
For this project I am using wooden drawer slides to keep it looking classic and timeless. So for this I’m using 1/4″ x 1/4″ slides that i embed into the box sides and use paste wax to keep nice and smooth.
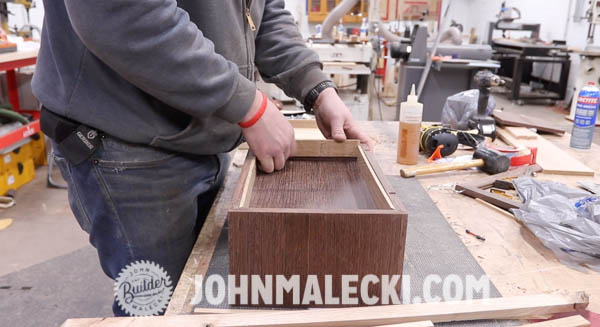
Step 9: Glue Up Drawers
Gluing up the drawers is is simple, because we’re flocking the inside of the drawers i dont worry too much about the squeeze out. But i still keep it as neat as i can.
Step 10: Cut Stock For Lid

For the lid I’m using 1/2″ x 1 1/4″ stock. Cut the miters first and make sure the box is to size. I then chamfer the insides of the reveal and cut the relief for the glass insert. I also take the time to hand sand the inside profile before glue up, it just makes things a bit simpler.
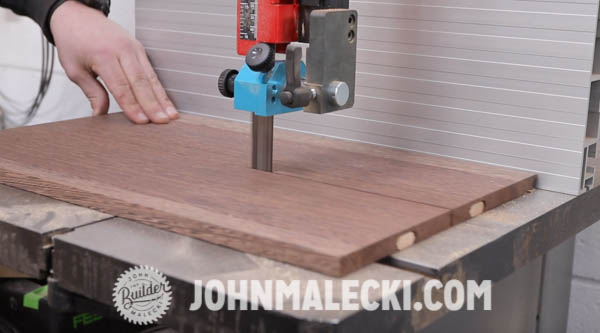
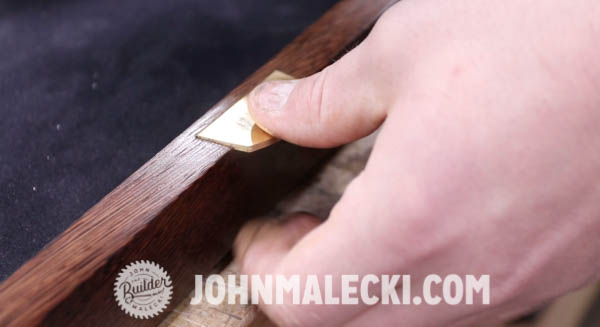
Step 11: Cut Drawer Pulls
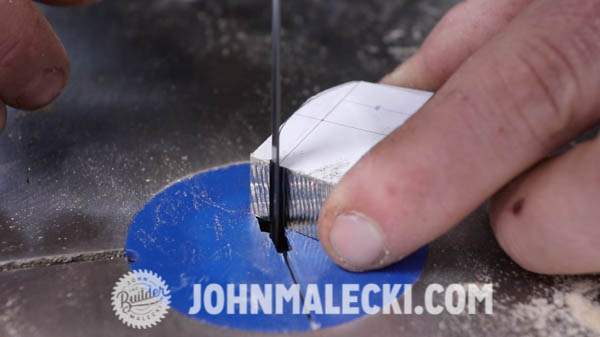
Since the drawers are now assembled. I take the time to cut the custom pulls. For these im using some soft brass i had left over from the TV i used for this build. The brass was purchased online years ago. I printed a scaled template from the computer to make sure everything was perfect. I then use my bandsaw and horizontal belt sander to make sure everything is perfect. After it is to size and scale i then cut it into the 3 separate pulls, and from there I sand them to flat and buff them sheen.
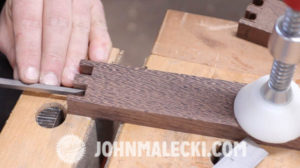
Step 12: Route Out Drawer Pull Inset
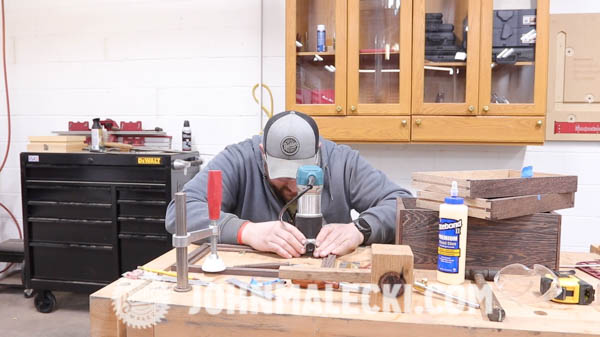
To route the pulls, i use my marking knife and cut the insert with my palm router. I chisel the edges to keep it nice and tight.
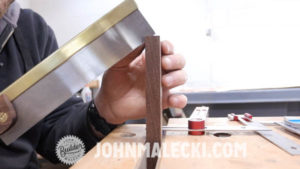
Step 13: Cut & Divide Faux Drawer
For the faux drawer i cut the top dividers and miter the outside edges using my shooting board. From there i cut everything inside to size measuring off the box itself. I use CA glue to keep all of the dividers in place.
Step 14: Sand & Apply Finish Then Flock
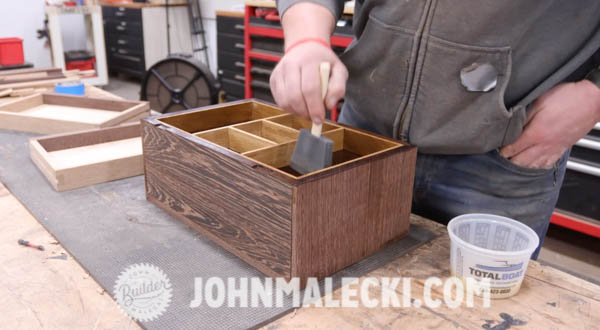
Once the dividers are in. I sand the whole box to 220 grit by hand. To seal the oily Wenge, i use some thinned shellac. This is before the flocking as well. After the first coat dries, i then apply the flocking to the interior drawers and the faux top.
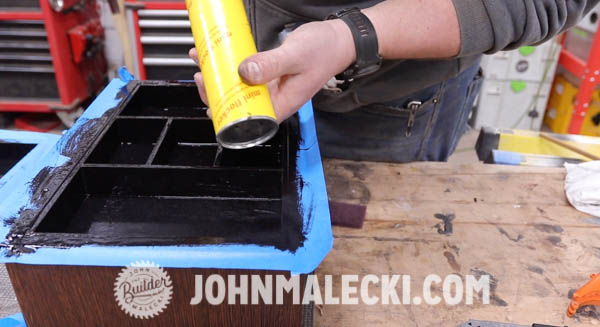
Once the flocking dries after 24 hours, I sand the box one more time after 4 coats of shellac, and then apply a coat of paste wax to bring it up to sheen and make it nice and smooth.
Step 15: Add Hardware
Once everything is dry I epoxy in all the hardware for the drawers. Because i shaped them with a dovetail, it should be plenty sturdy. I then pre-drill the holes and thread the holes with the provided hardware. I insert the glass and hold it in place with a thin bead of clear silicone. Thats a wrap
Check out these other projects!
- Outdoor Adirondack Chair
- DIY Concrete Coffee Table
- River Table Build
- Modern End Table
- Hidden Compartment Mantle
If you liked this please leave a comment down below!
Sponsored by:

Affiliate links are posted on this page. For more information on my Affiliate disclosure, check out my Disclosure Page.


Wow, You did a great job. Love this jewelry box. I want this for my wife. Hope so she will also love it. I will try it for sure. Thanks for the sharing this creative idea with all of us.
Glad you enjoyed it Kirk! this was a hell of a build and it came out beautifully!
Comments are closed.