DIY Epoxy Resin Sign with LEDs
In this build i Create an “On Air” sign for my office using Epoxy Resin instead of acrylic. I make the custom sized sheets from epoxy and then tint them to the color i want. Using my CNC I route out the grooves and then make a groove to pour the rest of the resin into it. I back light it with a battery powered LED light and use a torch to give the whole thing a Shoshugibon finish! Check out this cool experiment, Epoxy Resin Sign
DIY Epoxy Resin Sign with LEDs
- Build The Epoxy Forms
- Pour Your Resin Sheets
- Cut Out Your Letters
- Fill Your Letters
- Sand Your Sign Flat
- Build a Shadow Box
- Install Your Light
- Light up the world!
Before building anything with EPOXY, you’re going to need a few things. Here are the tools and productsI recommend for this build
Tools
Materials
- Total Boat High Performance Epoxy
- Packing Tape
- Plywood
- LED Wireless Light
Affiliate links are posted on this page. For more information on my Affiliate disclosure, check out my Disclosure Page.
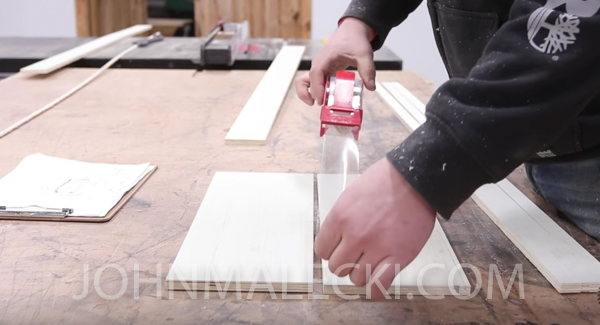
Step 1: Build The Epoxy Forms
Pouring epoxy requires some prep work. With that you’re going to need a box that is water tight that you can pour the resin into in order to create your “sheets”. You don’t want to not prepare your form, the epoxy will stick to it and not be able to be removed.
I use packing tape because I am cheap, a lot of the pros use Kydex Tape , but packing tape works well.
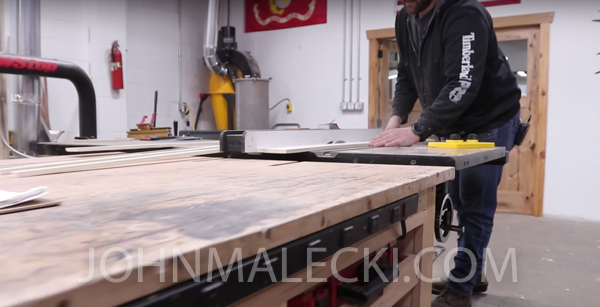
Step 2: Pour Your Resin Sheets
For this project I am only making 1/4″ thick sheets, so I don’t need an epoxy for a super deep pour. So for this one I’m using Total Boat High Performance Epoxy I measure out my form, and make enough to fill the form 1/4″ by volume. I then tint the epoxy and let it cure.

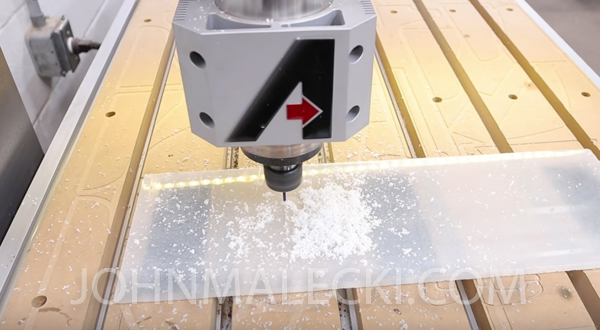
Step 3: Cut Out Your Letters
I pop out the sheet carefully using an putty knife, and make sure its fully cured. To cut the letters I use double sided tape and my Axiom CNC to create a female pocket. I broke the second sheet so i decided to back fill the epoxy letters with more resin after i cut them.
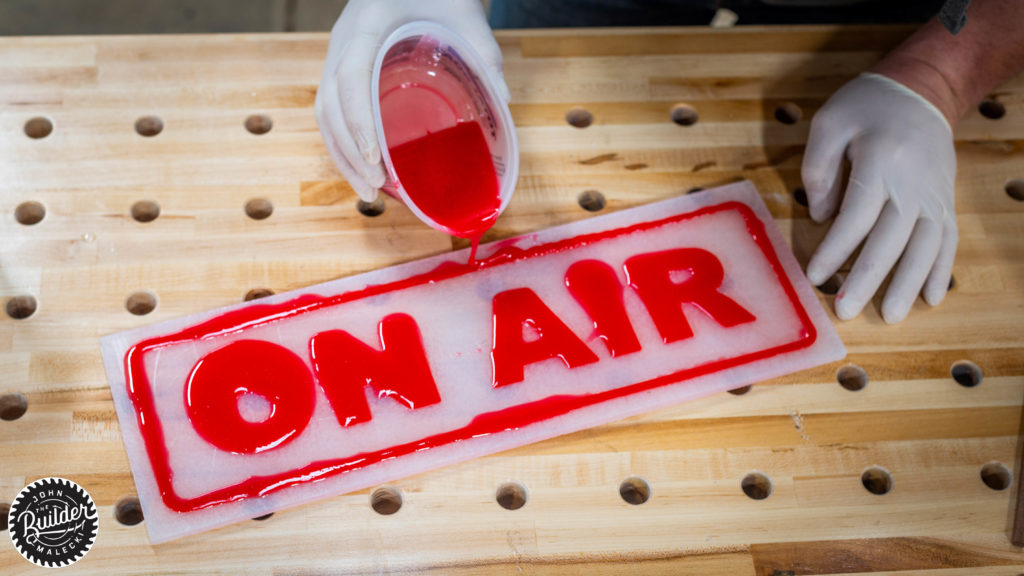
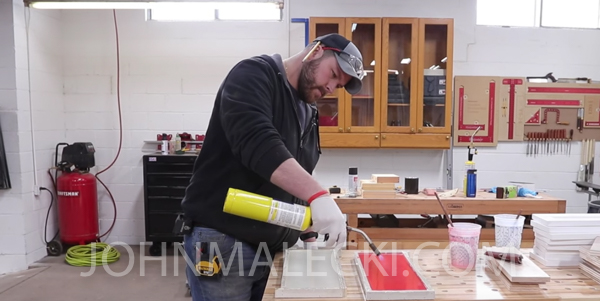
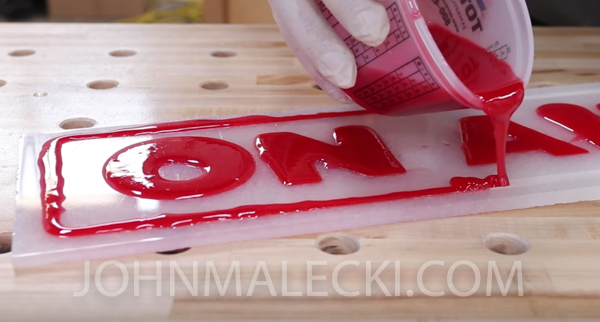
Step 4: Fill Your Letters
Mix up more epoxy to fill the letters. When pouring epoxy you’re going to want to stay close to the pour, unless you can vacuum the resin bubbles will form and come to the surface. So for this you’re going to want to pop the bubbles with a torch. For this my favorite way to do that is to use a MAPP gas torch.
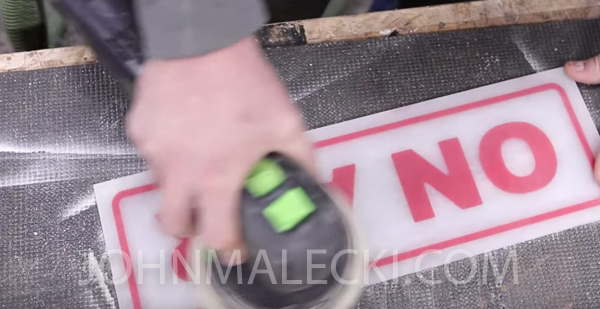
Step 5: Sand Your Sign Flat
Now that your sign is taking shape, you’re going to need to flatten it up. I use my drum sander for this, but you can easily do it by hand. I sand up to 400 grit, but a lot of people wet sand epoxy to 1000grit or plus to get it to shine.
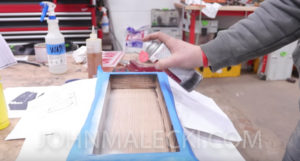
Step 6: Build a Shadow Box
to encapsulate the sign, I build a simple mitered shadow box. To create some more reflection in the inside of the box, i painted it white. I then shoushigibon’d the exterior for some contrast.

I wanted to make sure the sign was removable, so i stand it off with magnets. I simply imbed the magnets with a forestner bit and some CA glue. I then align the sign with some CA glue as well and set it in place.

Step 7: Install Your Light
for the light i am using a wireless battery powered LED light. The LED light i chose uses a sticky back to set it in the box. its battery powered and has a remote! I provided a link above for one thats similar.
Check out these other projects!
- Outdoor Adirondack Chair
- DIY Concrete Coffee Table
- River Table Build
- Modern End Table
- Hidden Compartment Mantle
If you liked this please leave a comment down below!
Sponsored by:
![]()
Affiliate links are posted on this page. For more information on my Affiliate disclosure, check out my Disclosure Page


