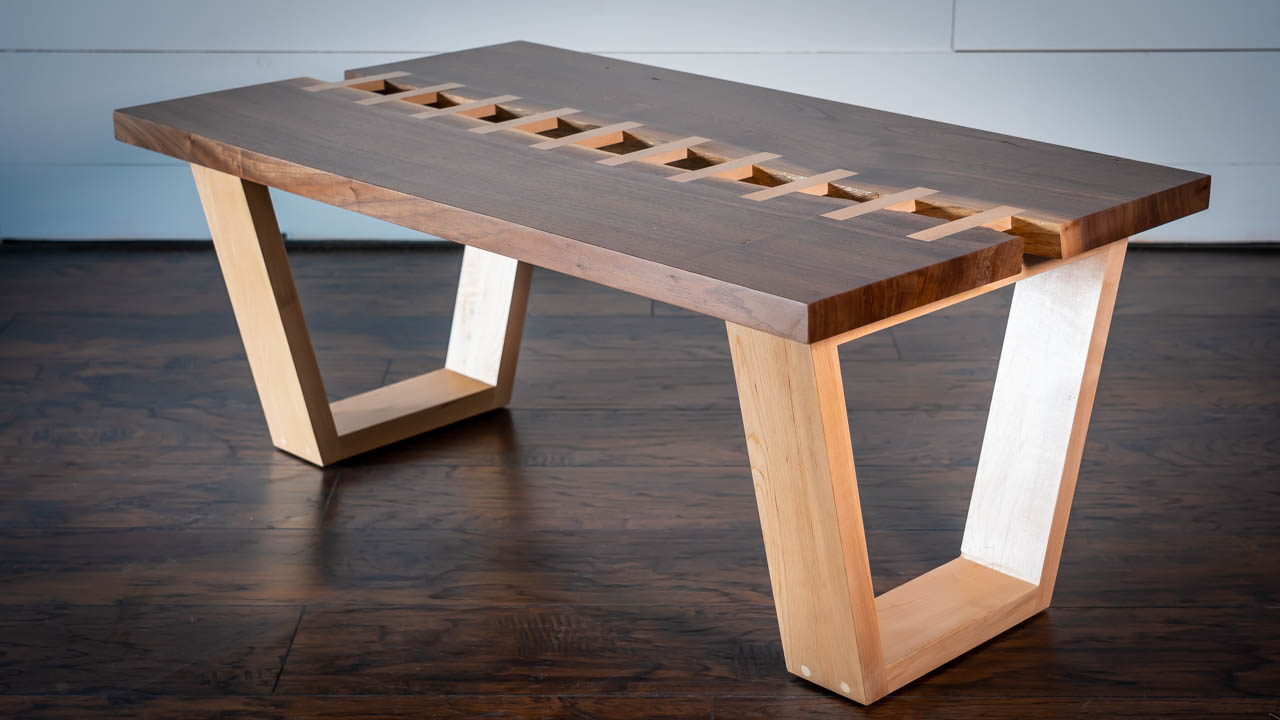
Building A Live Edge Table with A Zipper River!
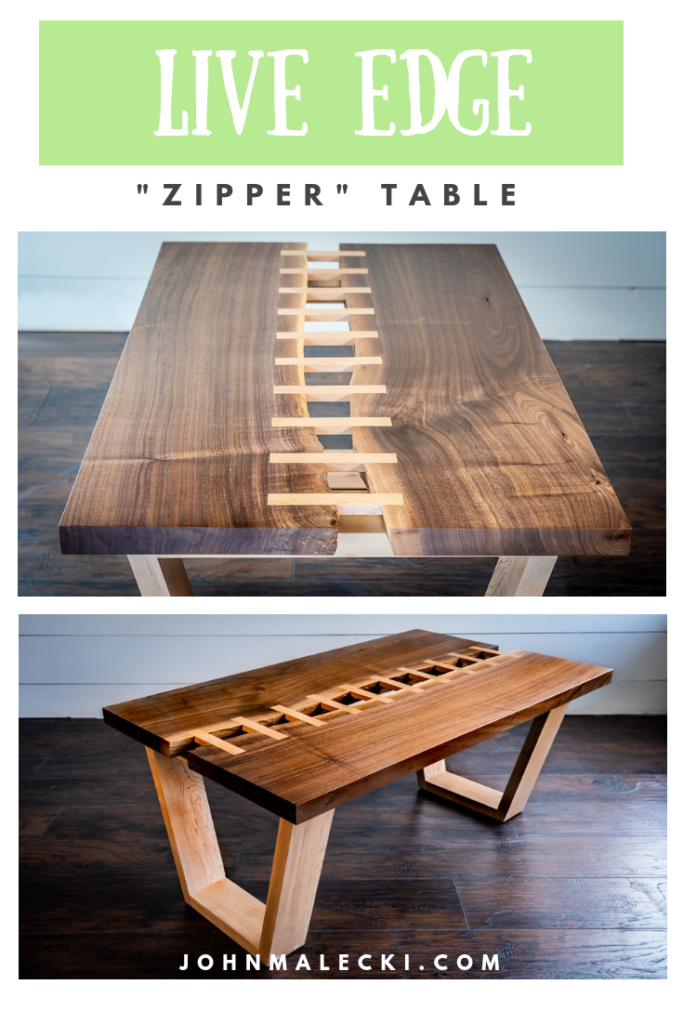
Building A Live Edge Table with A “Zipper” River
- Select Material
- Mill Down Live Edge Stock
- Layout Table Shape
- Mill and Cut “Stitches”
- Cut Recess’s for “Stitches”
- Glue Stitches Into Table Top
- Mill Base Materials
- Cut & Assemble Base Components
- Sand & Finish
Before building A Live Edge Table with A “Zipper” River, you’re going to need a few things. Here are the tools and productsI recommend for this build
Tools
Finishes/ Consumables/ Parts
Check out All of my Woodworking Tools!
Affiliate links are posted on this page. For more information on my Affiliate disclosure, check out my Disclosure Page.
Step 1: Select Materials For The Live Edge Table
Selecting materials for any Live Edge Table is almost the most important part of the build. You’re going to want to select some lumber that has character, is manageable, and is close enough to being flat that you’re not going to kill yourself getting it to be an actual table. As you saw in the video, I actually selected some cherry for this project initially, then moved to these beautiful walnut slabs.
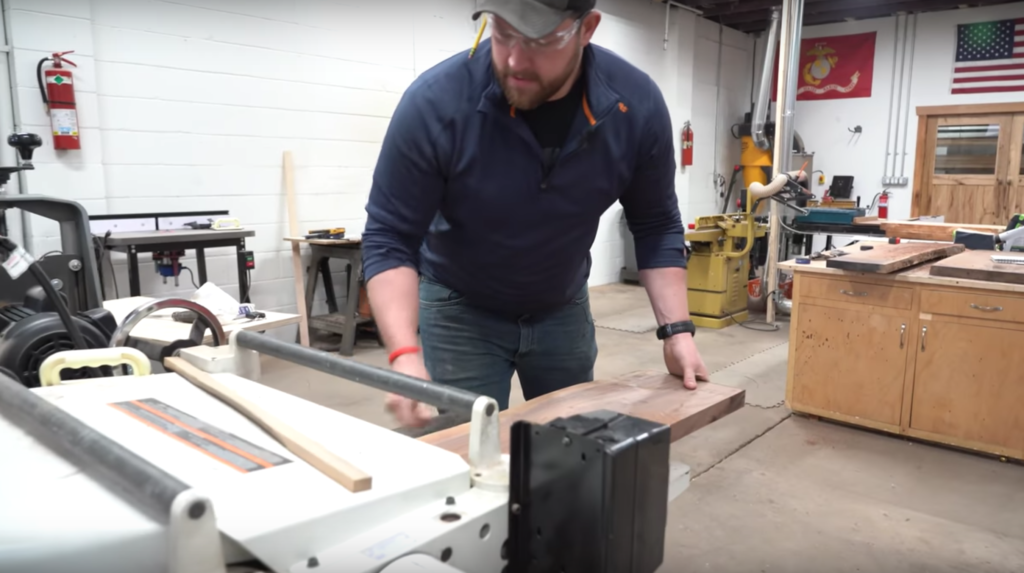
Step 2: Mill Down Live Edge Stock
Milling slab lumber has multiple tricky aspects to it. First is size, you can’t just joint and plane it normally when you’re building a Live Edge Table, because of how awkaward the raw material is. SO for this i planed the cherry slabs by hand with my No.7 Hand Plane. If you have seen my other Live Edge Tables, you’ll know I sometimes use a jig with a router as well. This table was small enough I could use my planer.
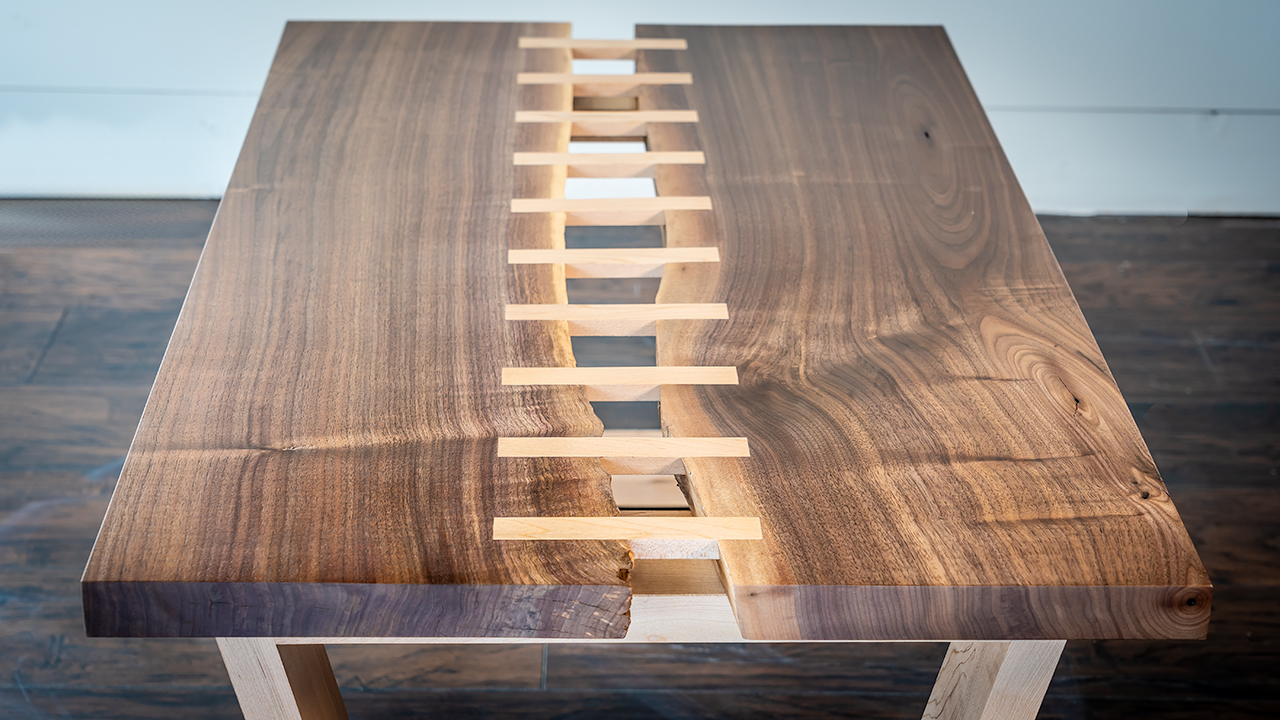
Step 3: Layout Table Shape
For A Live Edge Table, Specifically one with a River, you’re going to want to lay it out first before you get to making any cuts. So I cut the slab in half, then orient the table the way I want it to look and mark it up for milling. Clean up the edges before you get to screwing anything together, it’ll save you time having to take it apart later.
For this table I made a “jig” to hold the table in place by drilling it from the bottom. I left the slabs long so I could cut off the edges once I have it put together.
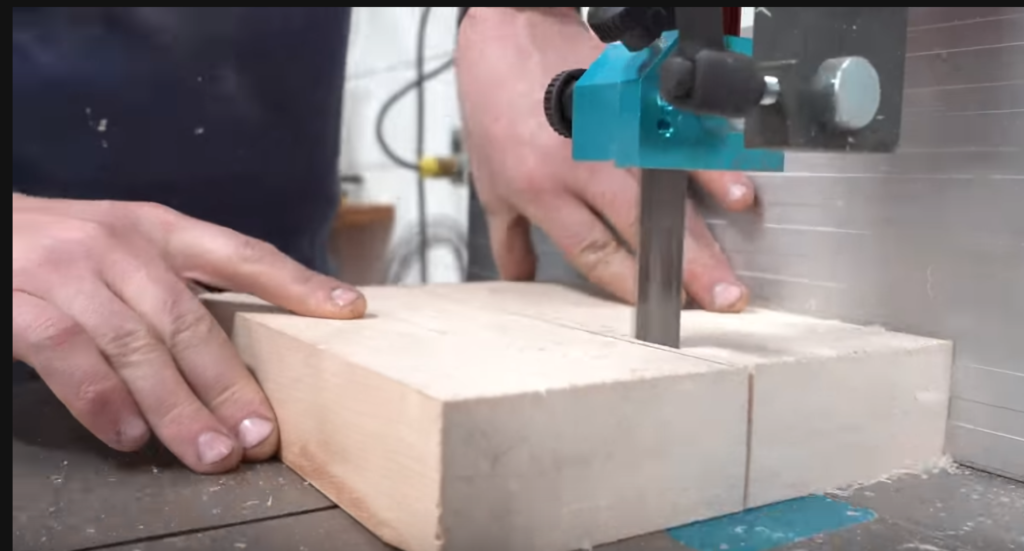
Step 4: Mill and Cut “Stitches”
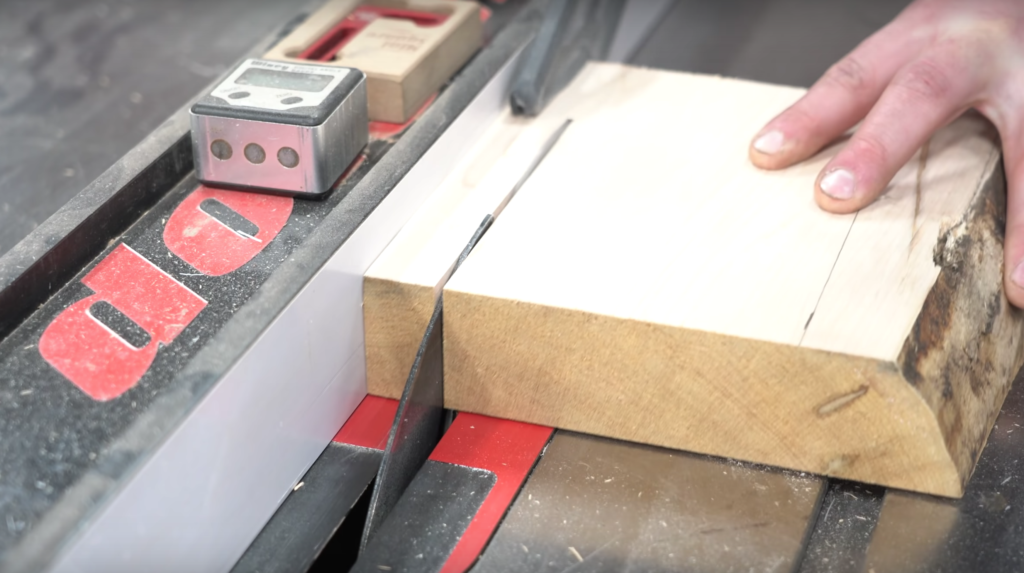
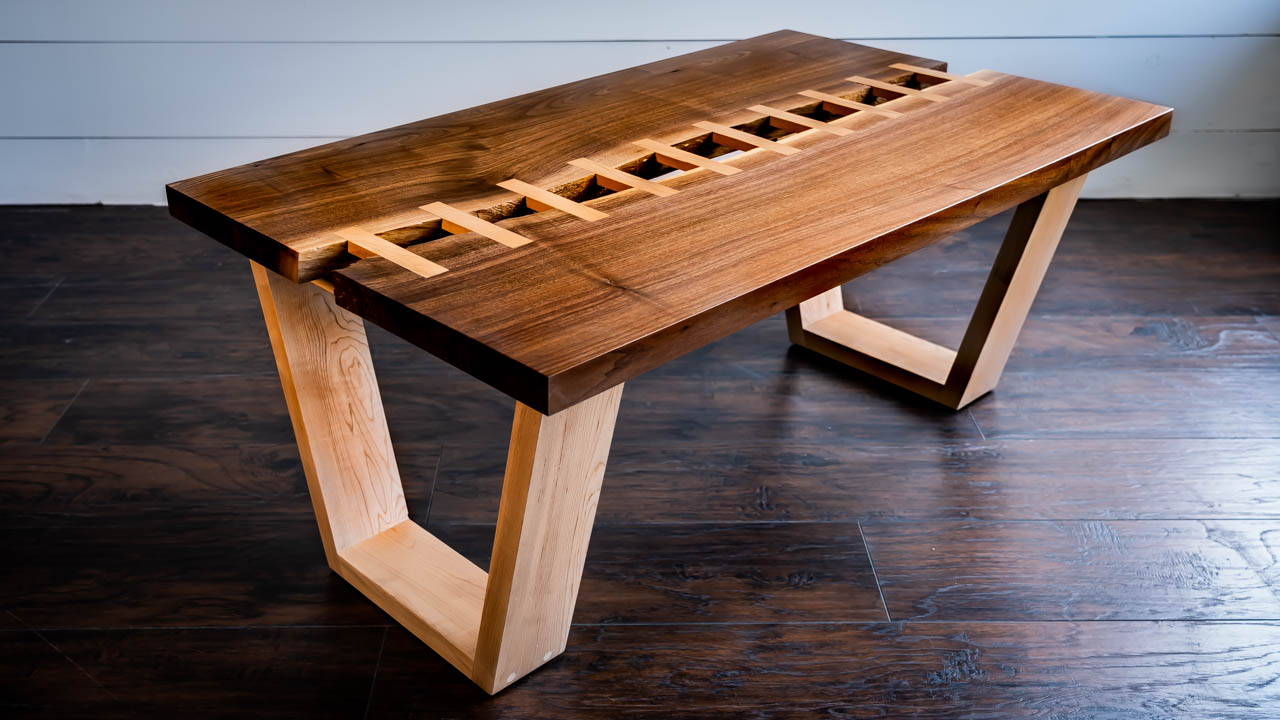
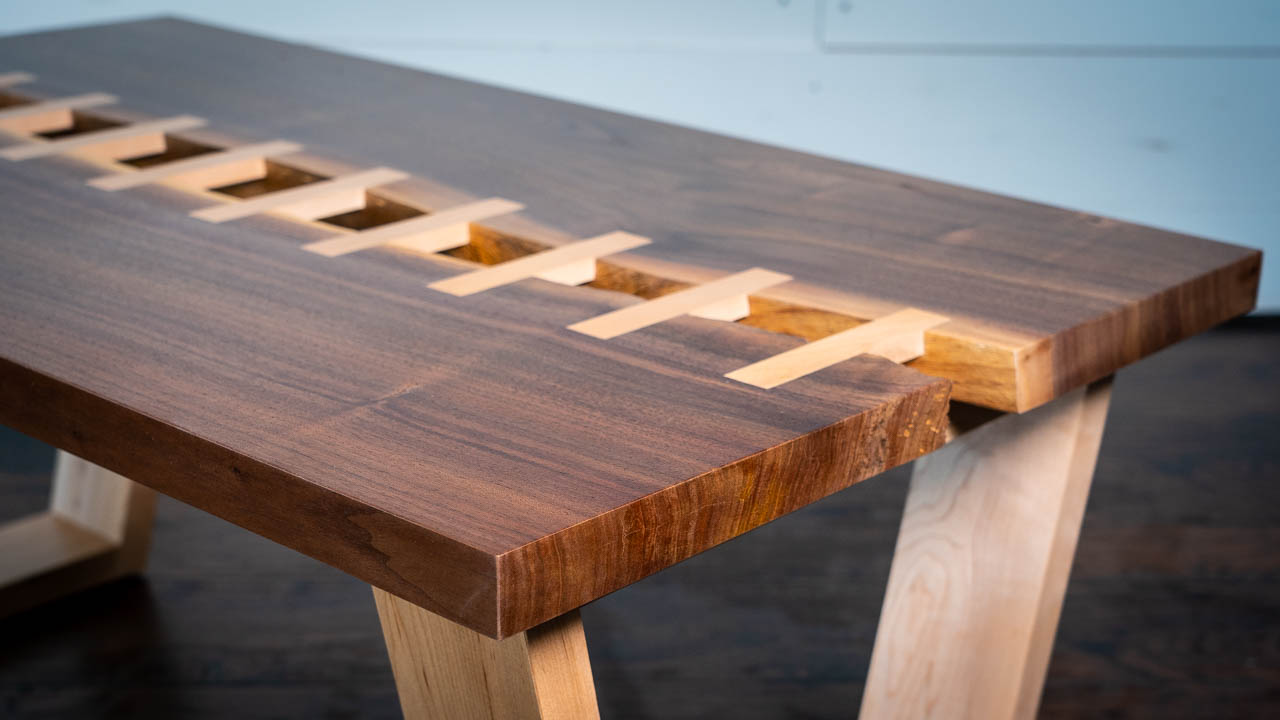
Now that the table is laid out the way I think it will look best. I go ahead and cut all the stitches for the “river”. Initially I wanted this part to be Bowties, but after seeing the stitches I changed my mind. So I lay out the stitches in an orientation I want them.
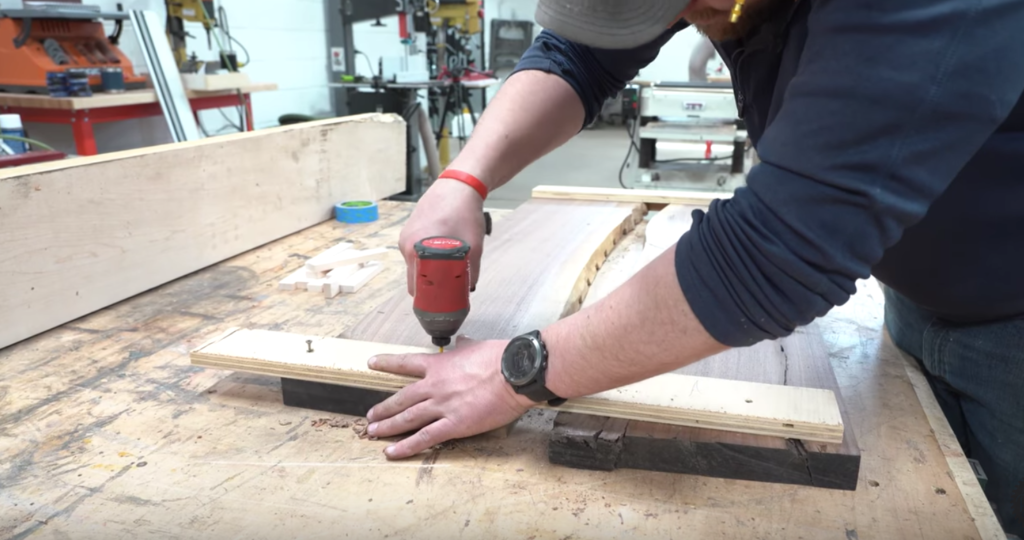
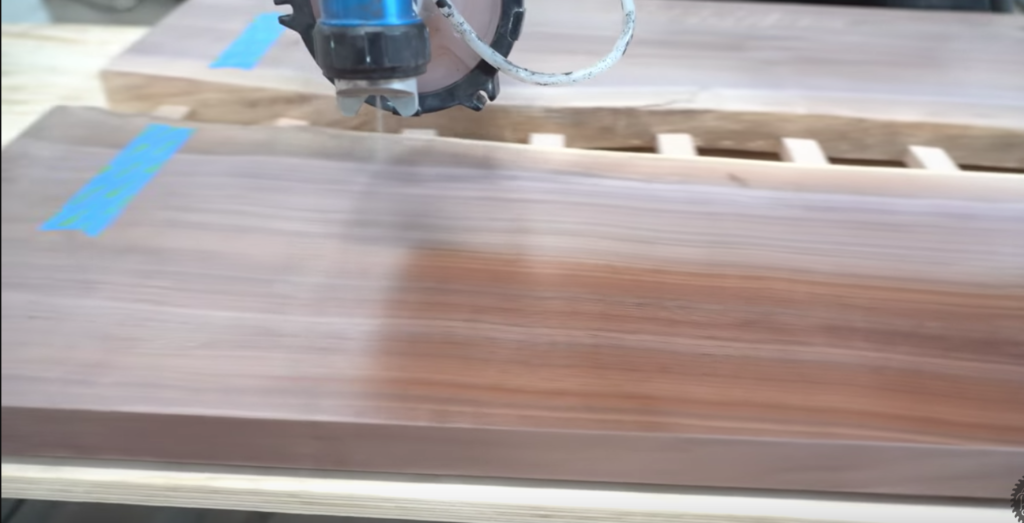
Step 5: Cut Recess’s for “Stitches”

I then build a router jig that fit the stitches perfectly, so I could use a pattern bit to cut the inserts and clean them up with a chisel.
Step 6: Glue Stitches Into Table Top

This step is basic enough, I glue in the inserts for the live edge table with Titebond 2 and i leave them slightly above the surface so i can sand it flush.
- PRO TIP – Sand the inserts flush with no vacuum on your sander. This will force the dust into any gaps and make your flaws look much cleaner.
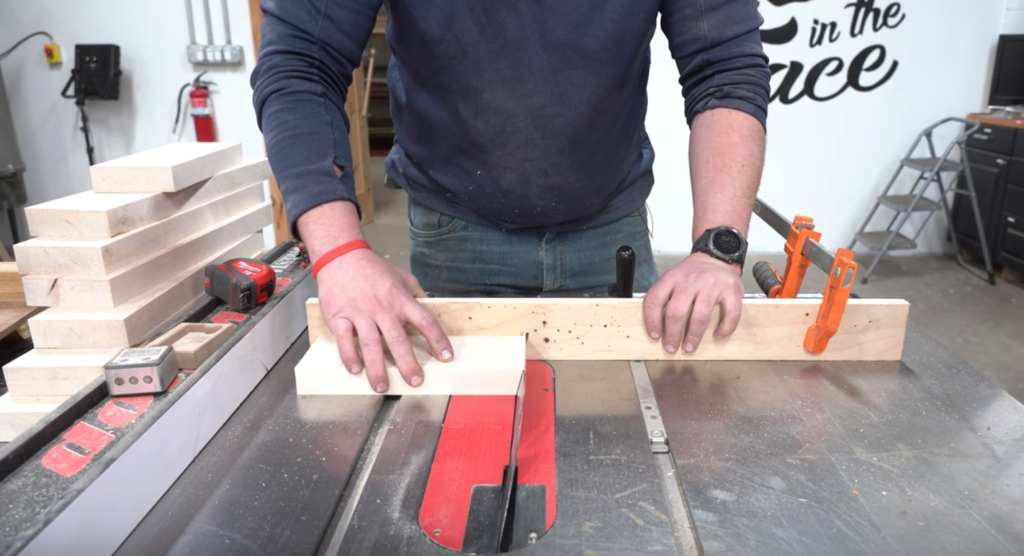
Step 7: Mill Base Materials
the base for this table is made from 8/4 soft maple I had laying around. I mill everything down to rough dimensions for what length and width I am looking for.
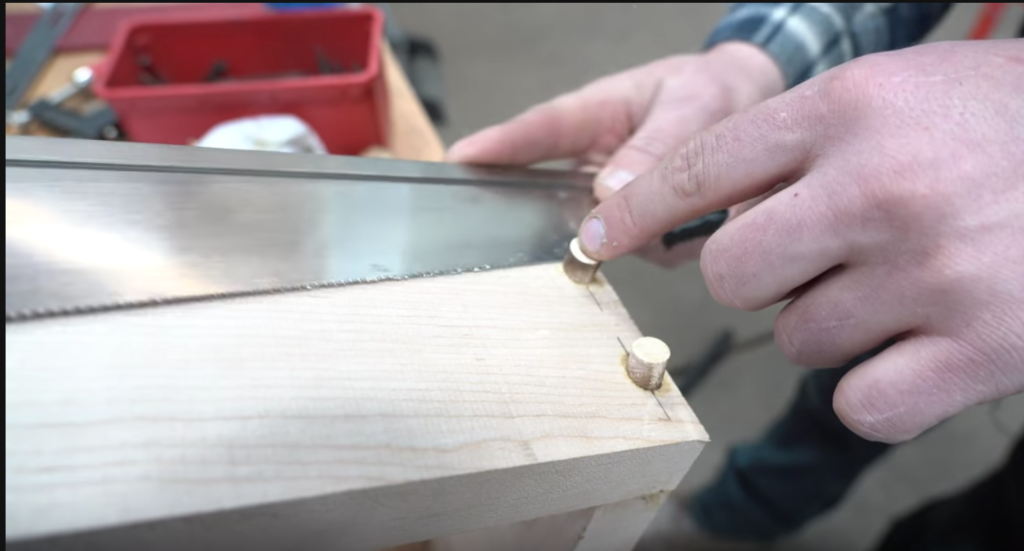
Step 8: Cut & Assemble Base Components
I just created a drawing to scale for what size I wanted the base legs to be. I then used the template to get my angles for the joinery, from there i used a bevel gauge on my table saw to cut all the angles. Overall the thickness of material is 1.25″.

I assemble the base using screws, yes simple screws. For this geometry it would’ve probably been more aesthetically pleasing to do A finger joint at an angle, but you live and learn. To pretty the joinery up I use a plug cutter to cover the screw holes and sand them flush.
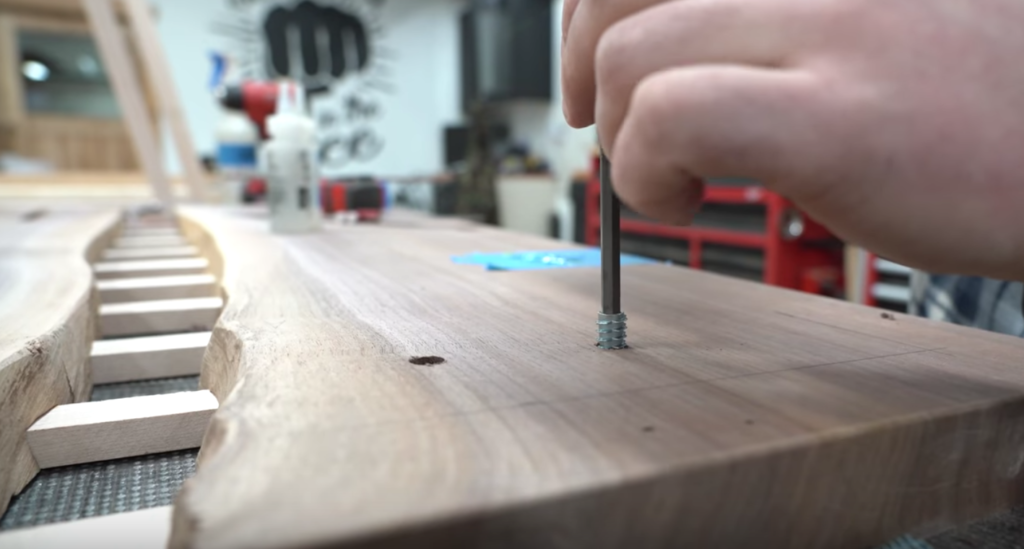
I attach the legs to the table using threaded inserts. I cut the sloppy holes for movement in the legs, then reference them where i want them on the table. From there it allows me to perfectly cut the insert holes where they will be on the table. I use threaded inserts because they’re strong and make breakdown of the table super easy.
Step 9: Sand & Finish
I sand the whole table to 220 grit and water pop it. I then sand it to 400 grit and wipe it down with a tack cloth before applying 4 coats of General Finished Endurovar with sanding between coats. I chose to spray this table because of all of the nooks and crannies in it. Its much easier to just spray then wipe these finishes on .
- Outdoor Adirondack Chair
- DIY Concrete Coffee Table
- River Table Build
- Modern End Table
- Hidden Compartment Mantle
If you liked this please leave a comment down below!
Sponsored by:
![]()
Affiliate links are posted on this page. For more information on my Affiliate disclosure, check out my Disclosure Page.


Do you build custom kitchen tables for clients out of state?
Hey Lisa, I am currently not taking on any custom work as im trying to grow the content business. thank you though!
Comments are closed.