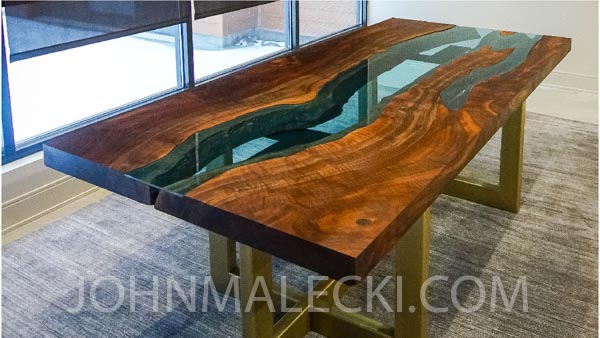
Live Edge River Table
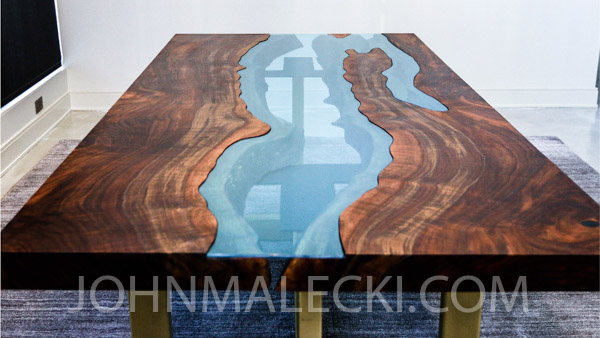
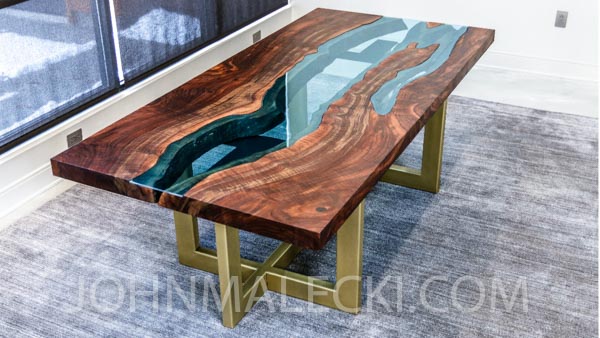
In this video I build A live edge river table with the most insane piece of walnut I have ever seen. I use a highly exotic piece of walnut from Oregon. When the slab came in it was almost 12′ long x 5′ wide. With the glass insert the table ends up at roughly 8′ x 40″ .
This river table had a ton of tricky parts and speed bumps a long the way. Check out the full video build and walk through below if you would like to pick up some tips to build your own river table!
Full Video Build
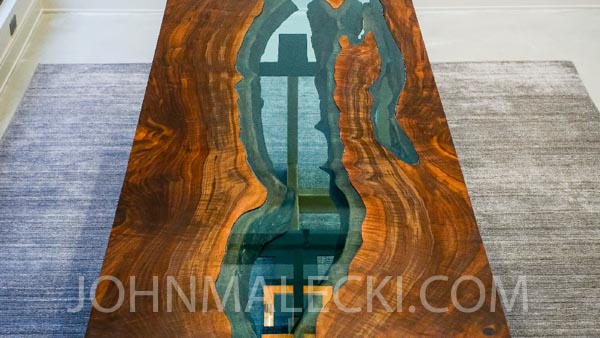
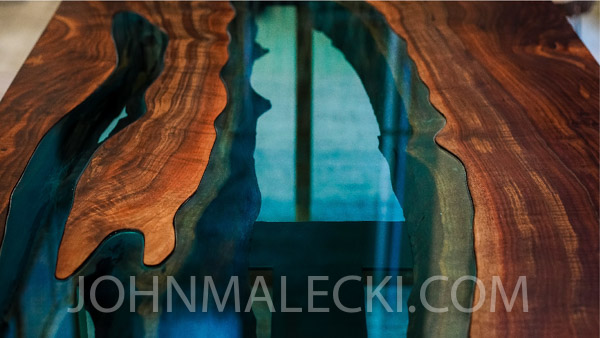
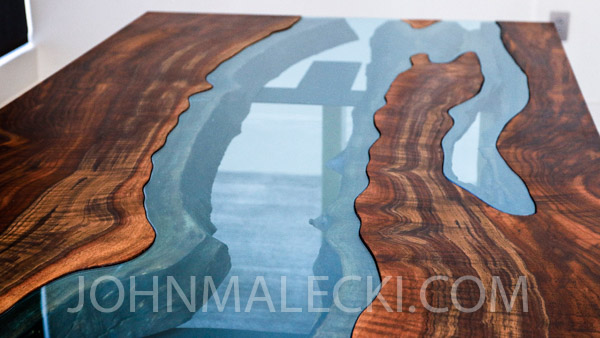
River Table Beauty Shots
Tutorial
Here are the steps I take to make a River Table. If you want to attempt this project yourself I have a list of some common woodworking tools, as well as some of the more unique items that specifically helped with this project!
- Beam Saw – Prazi Beam Saw Attachment
- Finish – Rubio Monocoat
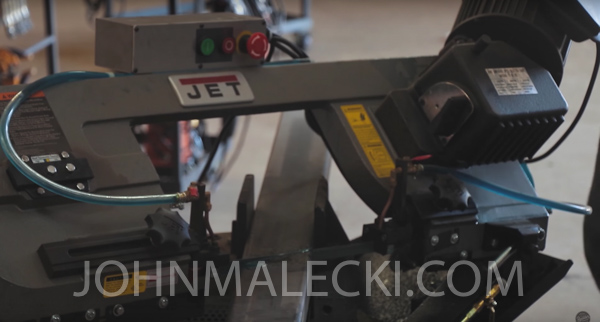
- Geared Head Metal Cutting Bandsaw – JET Industrial
Affiliate links are posted for your convenience and by using these links it provides support for the site at NO COST TO YOU. By purchasing anything through the links (even other products not listed) You help support the production of more quality content.
Slabs
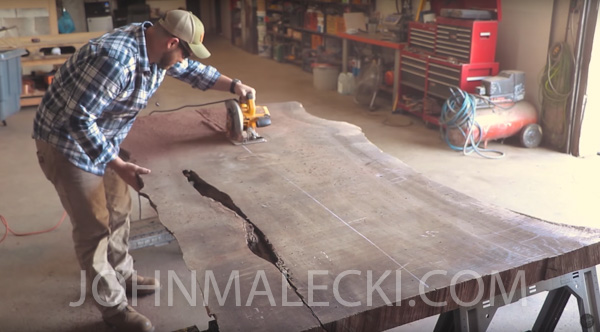
- As all “river tables” focus on the live edge being on the inside, I begin by breaking down the rough slab into manageable parts using my beam saw
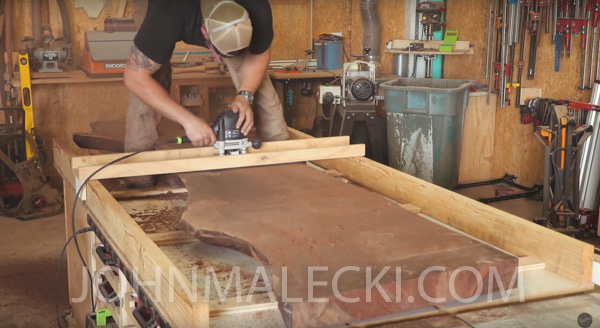
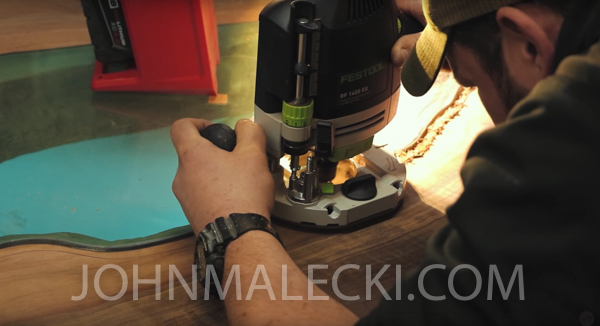
- I then move on to flattening the parts. Because I do not have a large enough CNC or planer, I use this router jig. I have a 1.5” flattening bit in the router and i simply run it over the surface taking shallow passes until the one side is flat. Then flip it and repeat on the other.
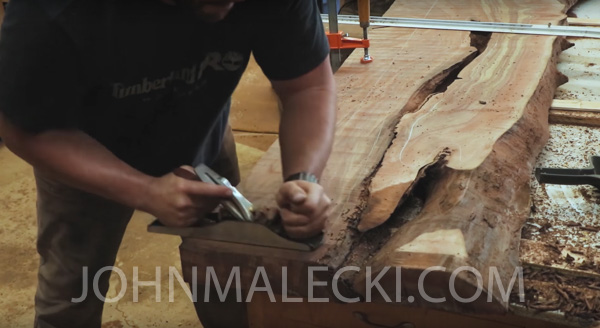
- Get all the parts i missed with the router using my #5 hand plane
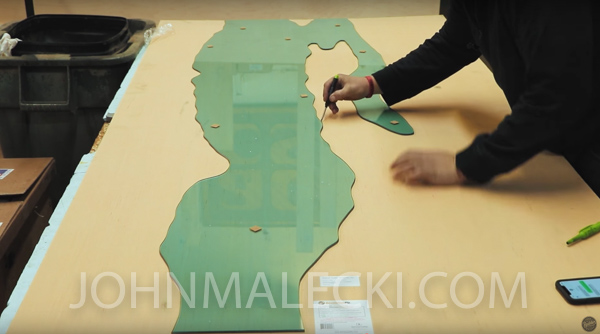
- Lay out the outline for the glass insert. I position the slabs to where i want them to be in the final table, and use a long nose marker about1” from the live edge
- Then i convert the template to a large sheet of paper
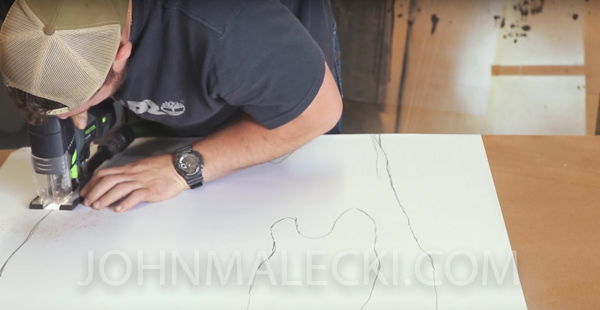
- Then transfer the template to a piece of ¼” lauan to take to the glass company for cutting.
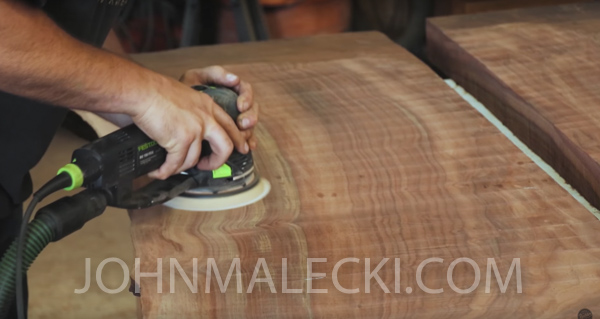
- Sand the table down to 120 grit to eliminate any lines left from the flattening process.
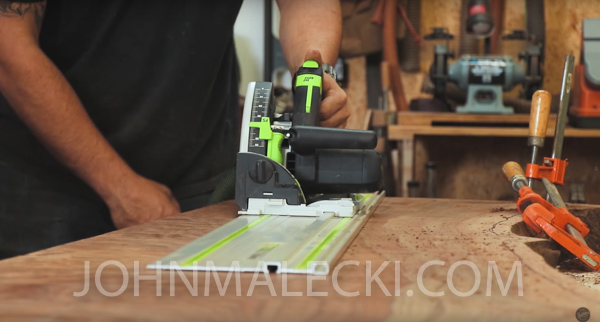
- Trim the table to final dimensions using a combo of my beam saw, track saw, and an ole fashioned hand saw
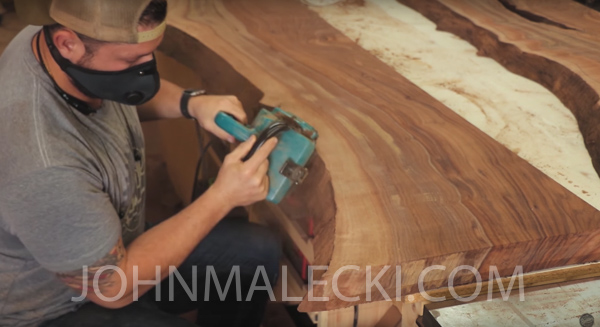
- Clean up the live edge using my brush sander and some hand sanding.
Base
 Cut all the rough metal stock to dimensions using an assortment of saws.
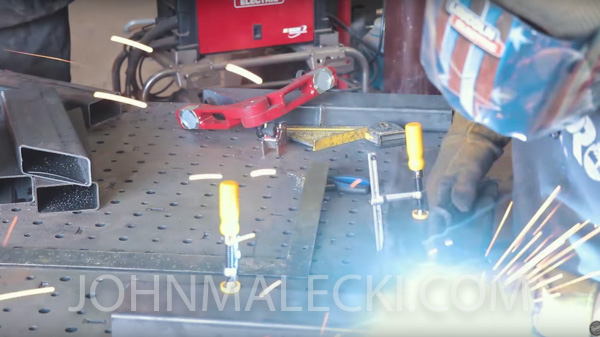 After everything is cut, I layout the base and tack it all together.
- Once it is all lined up, I finish weld all the seams. I then cut plates for the top to mount, and get the base to the powder coater.
Glass Templating
- Outline the glass onto a stencil to get the perfect fit for the router. I’ll only use this for the finger part because i cannot use the edge on the glass as a reference for the templating bit.
- I would highly suggest if using tempered glass to be very very careful. This technique can , and will scratch the glass. I learned this the hard way and had to eat a solid chunk of profit to have the glass company fix it.
- I then clean up all the grooves by hand and make sure everything is nice and smooth.
Finish
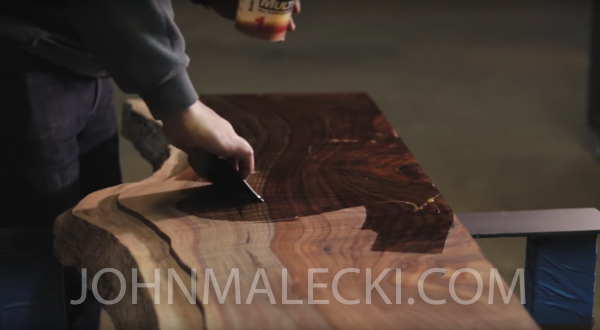 Once again using Rubio monocoat for this application. It is as simple as mixing it up and spreading it on.
 - This product has quickly become my favorite for hardwood finishes, and it really brings out all of the amazing beauty and color in this gorgeous piece of walnut
- I spread it on using a squeegee and wiping it off with a rag. Then use the same rag for live edge
If you would like more info on Finishing Live Edge Slabs, check out my video!
Mounting
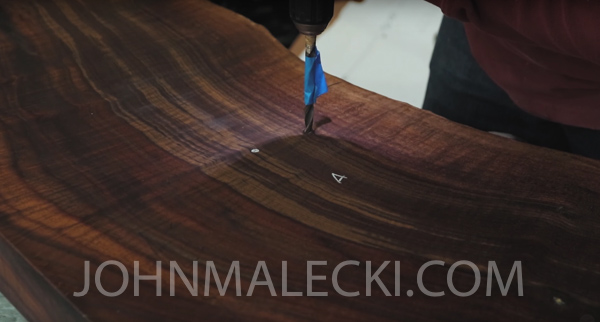
- Mount the table using some countersunk threads, and some sloppy holes for bolts and its ready for delivery.
If you dig my video check out some of my other builds


