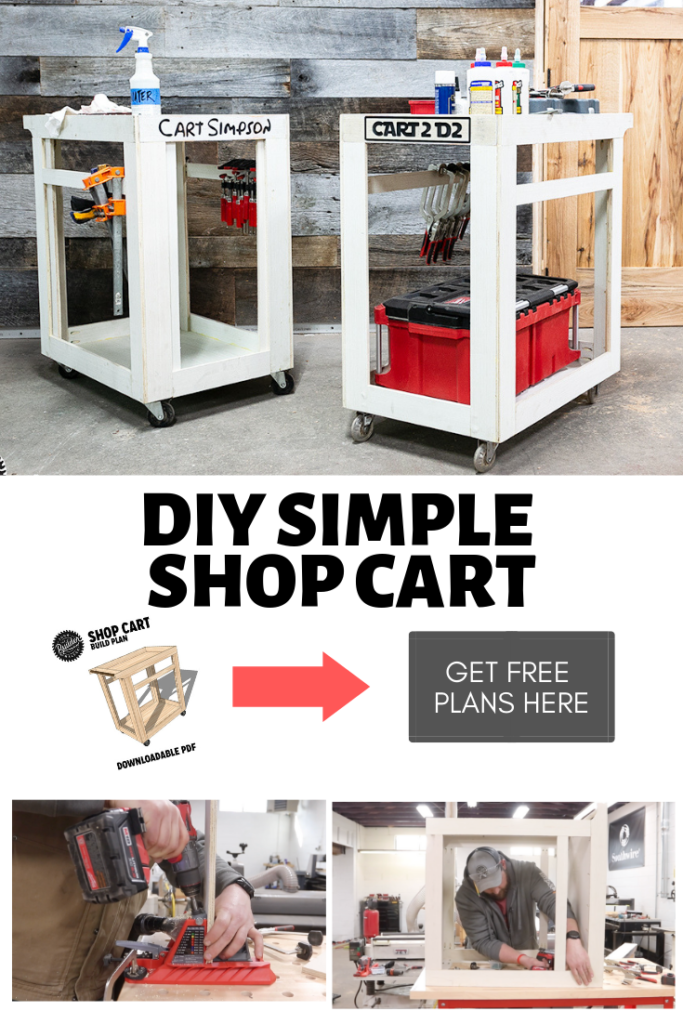
After moving the shop to the new 2,500 sq.ft. facility, i came to a realization. I have to move stuff so much further than i used to. This is a problem. Its so inefficient. So i took some time, and looked up some of the big plastic carts from the home store. These things are minimum $70 a pop per cart! So I obviously went the DIY Route and built my own! For less than $80 in plywood i got 2 sheets of 1/2″ plywood, and built my own. I have a bucket of casters luckily that i have sitting in the corner from old projects and finds, so i used those for the rollers and got creative! One thing I was stoked about was being able to customize these carts. So i named them with some creative names ( Cart-2-D2 and Cart Simpson) and had some fun with it. To make it fun for yinz guys I also created a Free Plan you can download here!
DOWNLOAD THE FREE PLAN HERE

Watch the Full video Here
DIY Shop Cart
- Breakdown Plywood
- Cut Pocket Hole Joinery
- Assemble Cart Top
- Assemble Cart Bottom & Legs
- Assemble Cart Carcass
- Add Castors
Before building Frame & Panel French Doors, you’re going to need a few things. Here are the tools and productsI recommend for this build
- Casters
- 7/8″ Dowel
- 1/2″ plywood
Affiliate links are posted on this page. For more information on my Affiliate disclosure, check out my Disclosure Page.
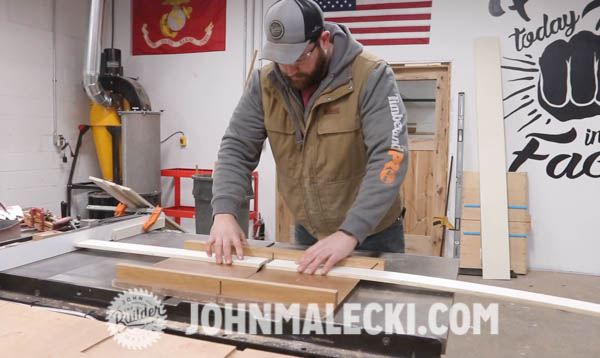
Step 1: Breakdown Plywood
Start by breaking down all your plywood into the parts on FREE Plan Parts list. This is going to be the same for cutting 3 carts or just a single. You want to batch all this out before hand. I suggest using a combination of a Track or Circular Saw with Guide or your Table Saw for this process. Get everything cut and labeled and ready for joinery!
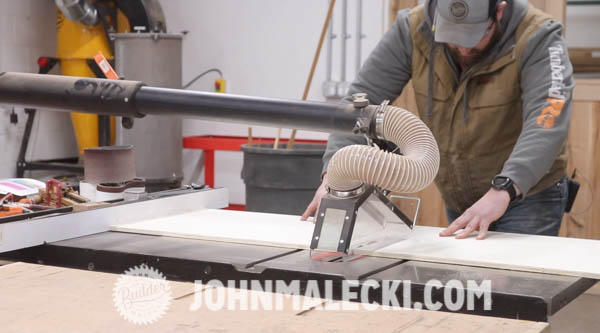
- Start by making rip cuts of everything in similar dimensions
- Then break all the rips down to their smaller sizes using a cross cut sled, or using your miter saw
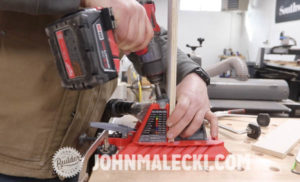
Step 2: Cut Pocket Hole Joinery
For this step i use my new Armor Tools Pocket Hole jig. I dont have to adjust anything because it adjusts automatically, and makes it super easy. I then cut the curves for the handles and get ready to assemble!

Step 3: Assemble Cart Top
Use the parts to assemble the top with the handle first. This makes assemble for the whole cart super fast and easy, I build one cart at a time. But you can do all the cart tops now too.
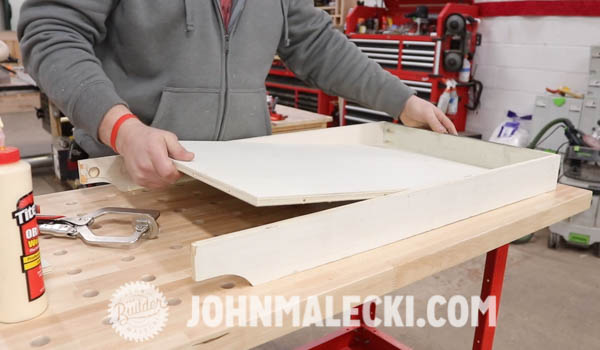
TIP – If you want to name your cart, you’ll want to do that on the front before you get to this stage
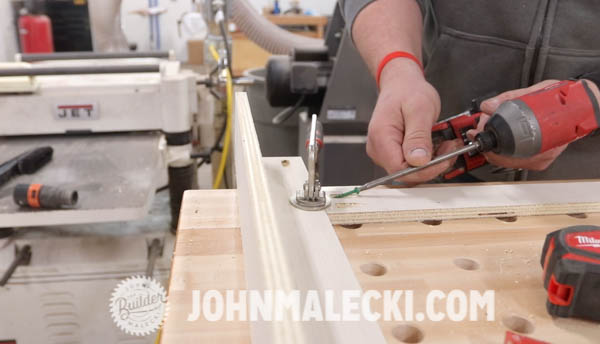
Step 4: Assemble Cart Bottom & Legs
Pre assemble the legs into their “L” shape. then add the side rails and the bottom.
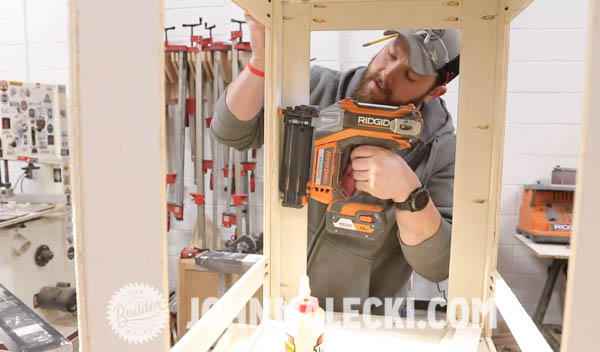
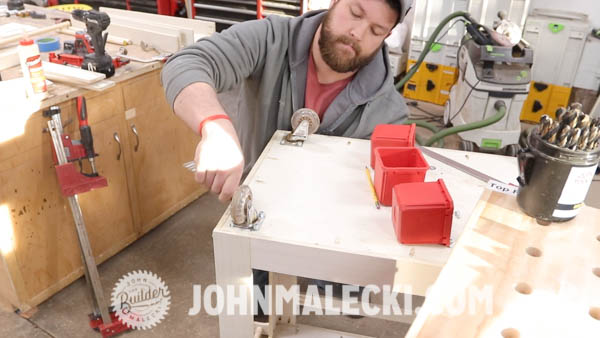
Step 5: Assemble Cart Carcass
Attach the bottom and the top using the appropriate amount of glue and screws. For this I just flip the cart upside down on my table.
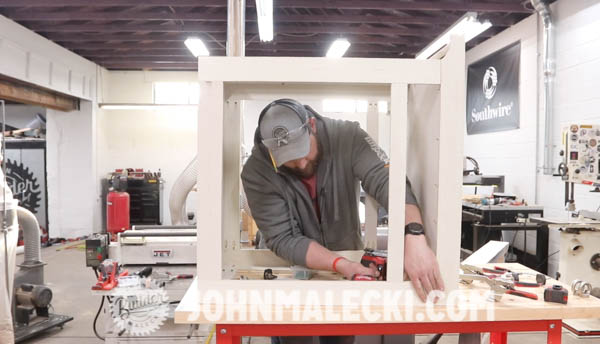
Dont forget to Attach top support rails for the top too!
Step 6: Add Castors
Thank you so much for checking out this build. If you want to see more custom work from my shop, Here are a few more projects for you.
- Outdoor Adirondack Chair
- DIY Concrete Coffee Table
- River Table Build
- Modern End Table
- Hidden Compartment Mantle
If you liked this please leave a comment down below!
Sponsored by:
![]()
Affiliate links are posted on this page. For more information on my Affiliate disclosure, check out my Disclosure Page.


