HOW TO MAKE AN EVERY DAY CARRY (EDC) CATCH ALL BOX
VIDEO BUILD ON HOW I BUILD AN EDC STORAGE BOX WITHOUT USING A CNC
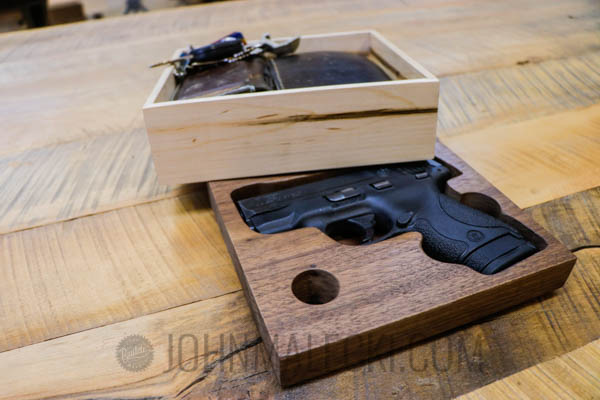
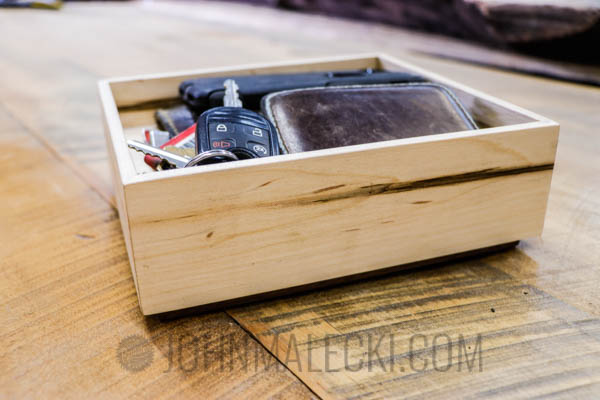
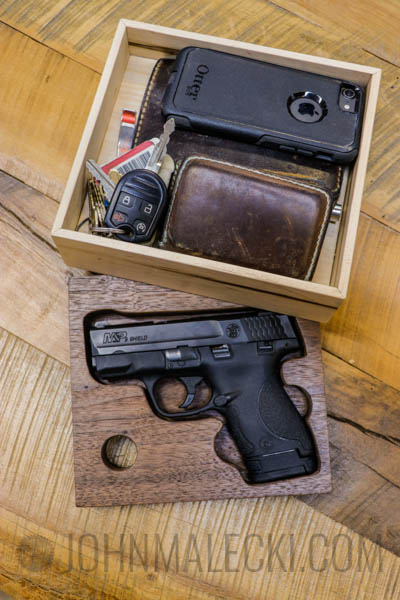
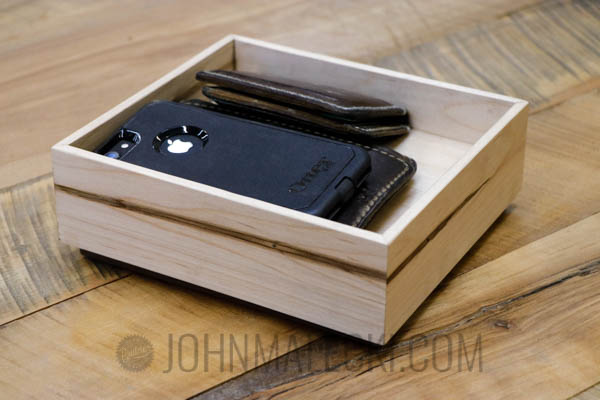
In this video I build an EDC Catch all box for my own personal use. I carry 2 wallets, my keys, a knife, and my handgun almost every day. Having somewhere to put it all when I am in the house keeps me organized. In order to create something that doesn’t have a handgun just laying in it, I made this box to have a secret compartment hidden underneath.
Check out the video and walk through below!
If you would like to attempt this project on your own, here are a few tools I recommend!
- Table Saw
- Tape Measure
- Drill
- Mitre Saw
- Jointer
- Glue bot
- CA Glue & Activator
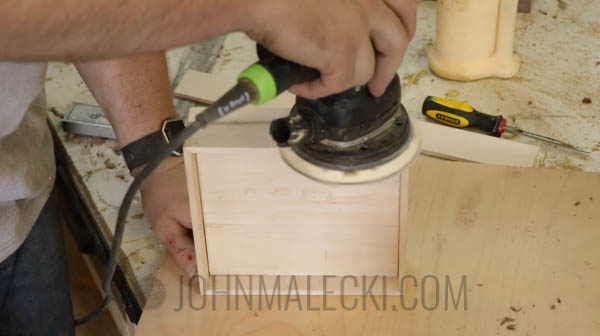
- Oscilating Spindle Sander
- Bandsaw
Affiliate links are posted for your convenience and by using these links it provides support for the site at NO COST TO YOU. By purchasing anything through the links (even other products not listed) You help support the production of more quality content.
FULL TUTORIAL
Breakdown Material
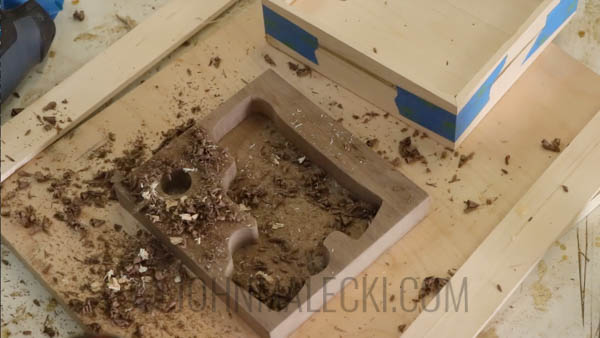
STEP 1
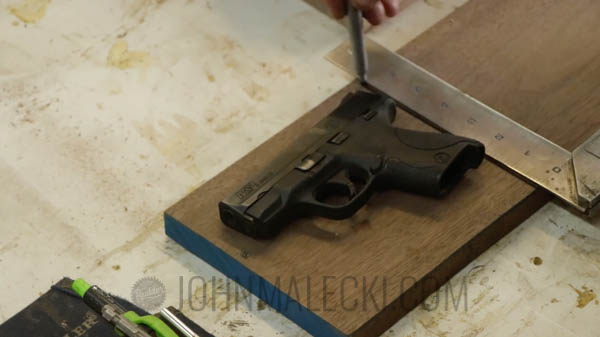
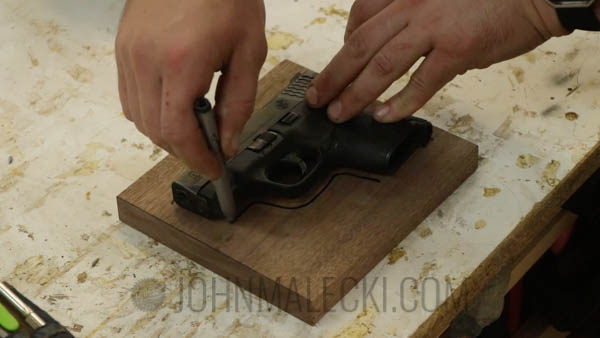
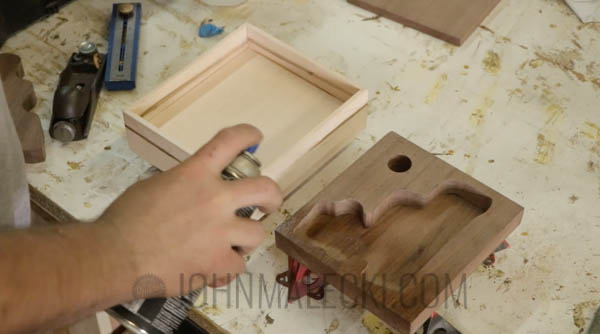
Begin by measuring out the size of your “gun” or whatever you’re putting int he hidden compartment. Build this part first so you can reference the box to the insert. Mark out the shape of the hidden compartment based on the size of your pistol.
STEP 2
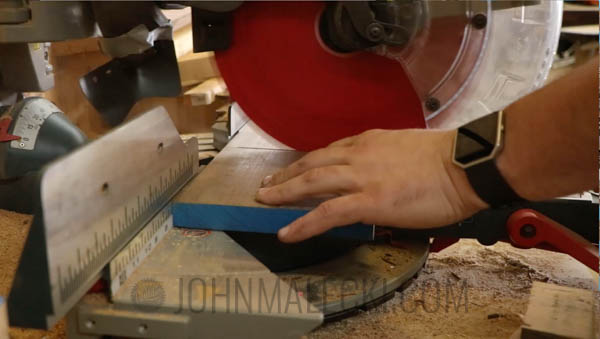
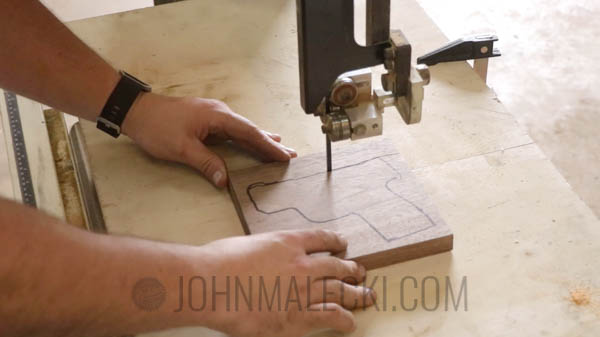
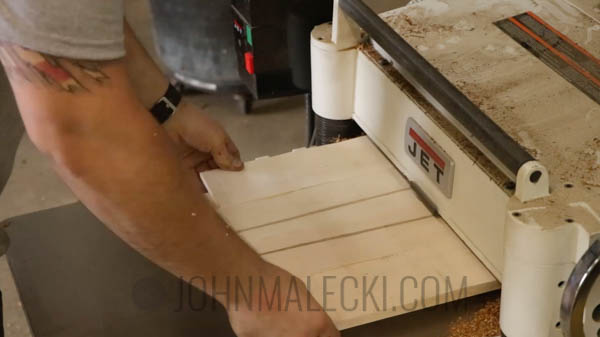
Cut out your insert shape based on your outline. Cut into the wood with the grain in order to get a long glue joint. Measure the size of the base for the box based on the size of your compartment. Use it for reference. Re-saw or plane your material so 3/8″ – 1/4″ thickness.
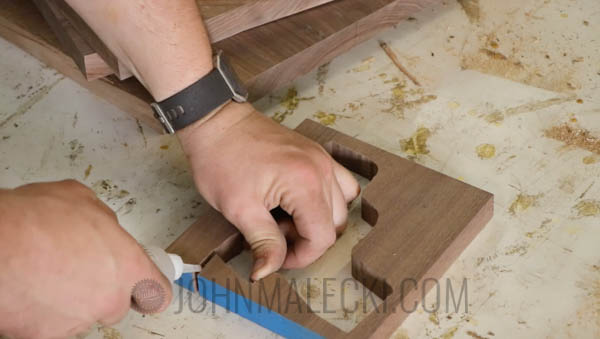

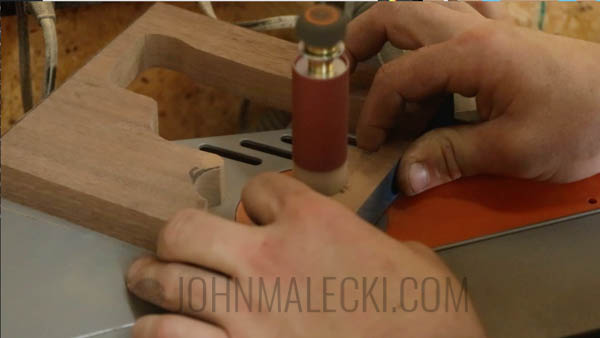
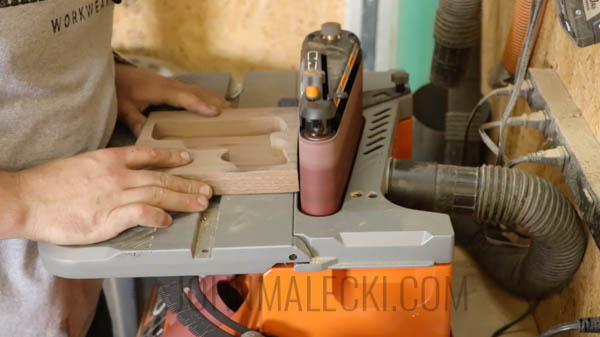
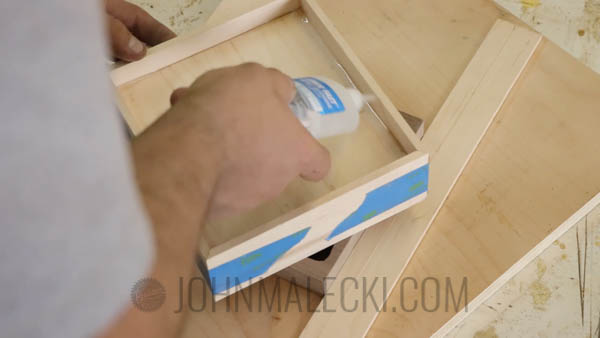
STEP 3
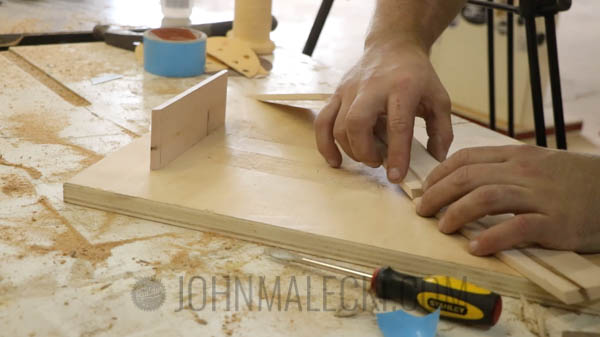
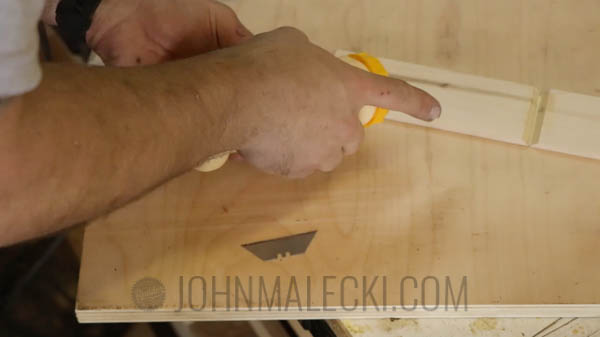
Mark out finger holes for your insert and using the oscillating spindle sander, nicely smooth the insert. Glue on the base plate once smoothed using CA glue and activator. Then square all edges on the belt sander.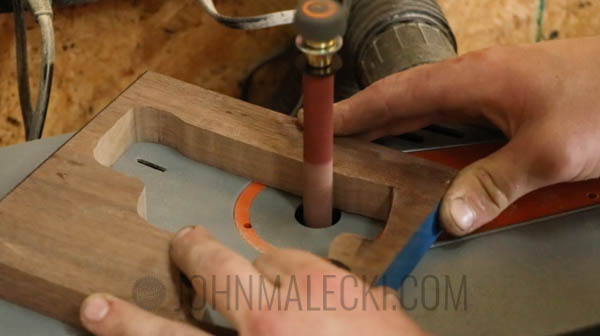
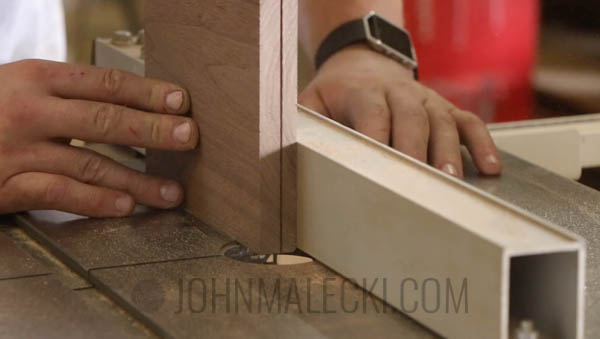
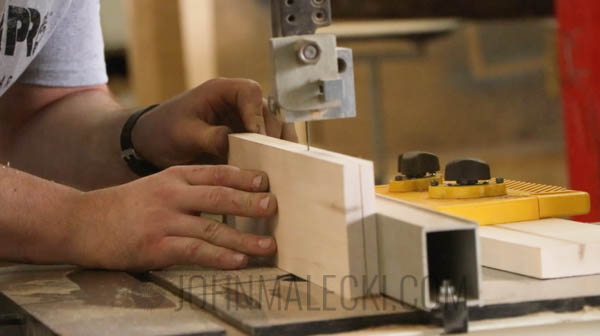
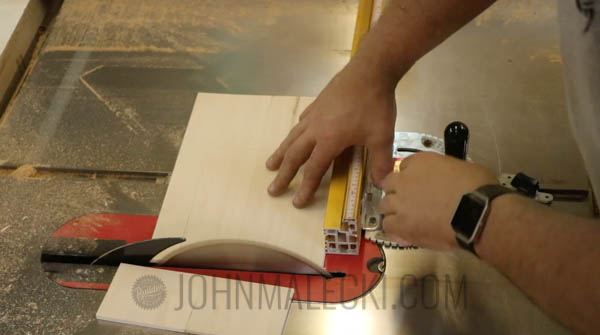
STEP 4
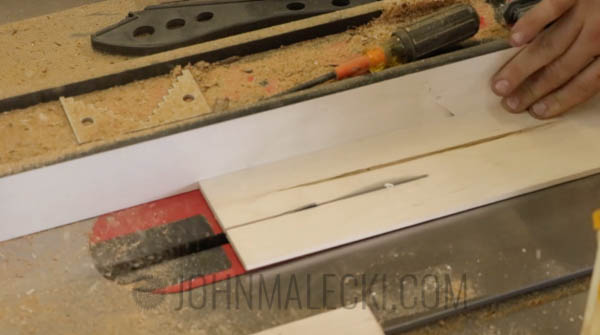
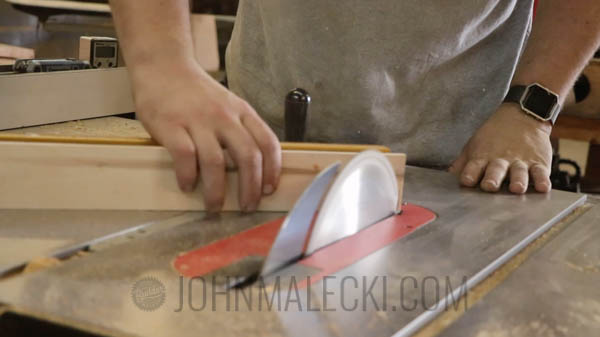
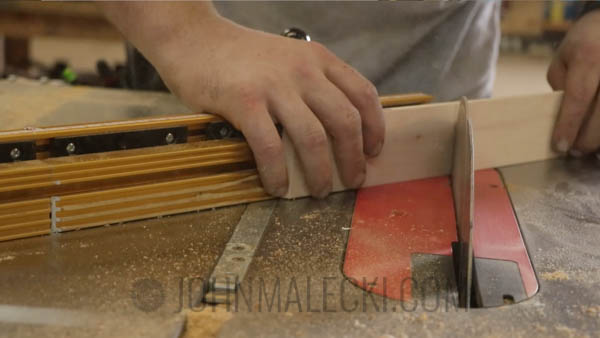
Re-saw your side wall material for the box. Using your planer flatten it to thickness. Cut one corner to a 45 degree angle. Using the insert bottom for reference, mark the location of the next cut. Use your table saw and mitre gauge for easy and clean cuts.

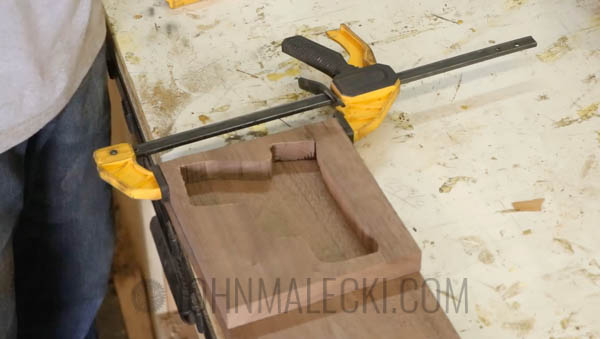
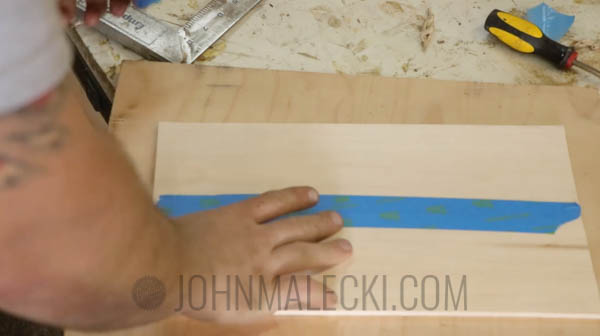
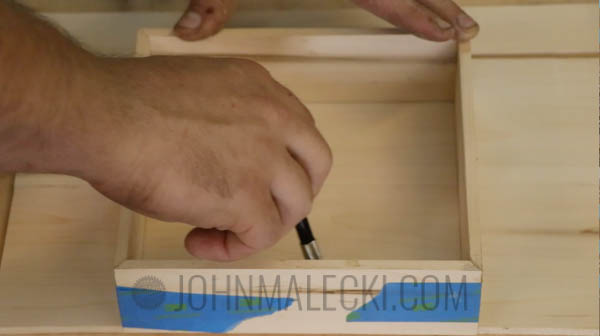
STEP 5
Tape the mitres for glue up and sand the insides before assembly. Also glue up panels for the bottom of the top box. use CA glue or regular glue (this box is not holding a ton of weight so CA glue should work fine)

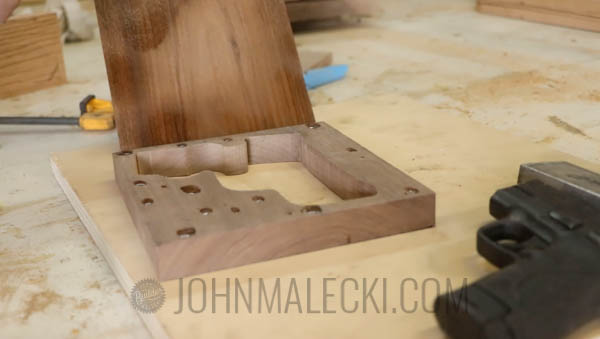
STEP 6
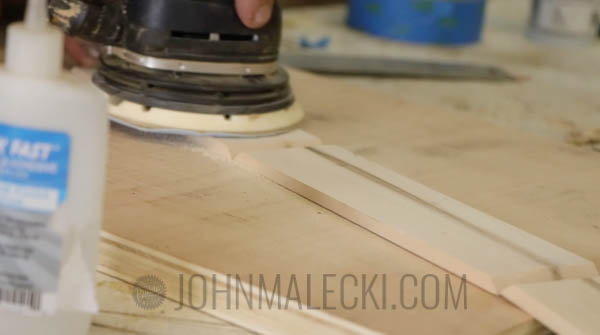
Sand the bottom insert. Mark and cut the size of the top box “bottom”. Use CA glue to insert into the box. Reference something on the bottom for your reveal on the base insert. I use 1/4″ spacers. Insert the bottom of the top box, and then remove it and glue it. Sand all parts to 220 grit. Spray finish lacquer, sanding between coats. Up to 5 coats.

Please share and comment below with any questions about this product.


