HOW TO MAKE A 13ft. TALL BOOKSHELF
VIDEO BUILD ON HOW I MADE A 13’X9′ TALL BOOKSHELF WITH A ROLLING LADDER
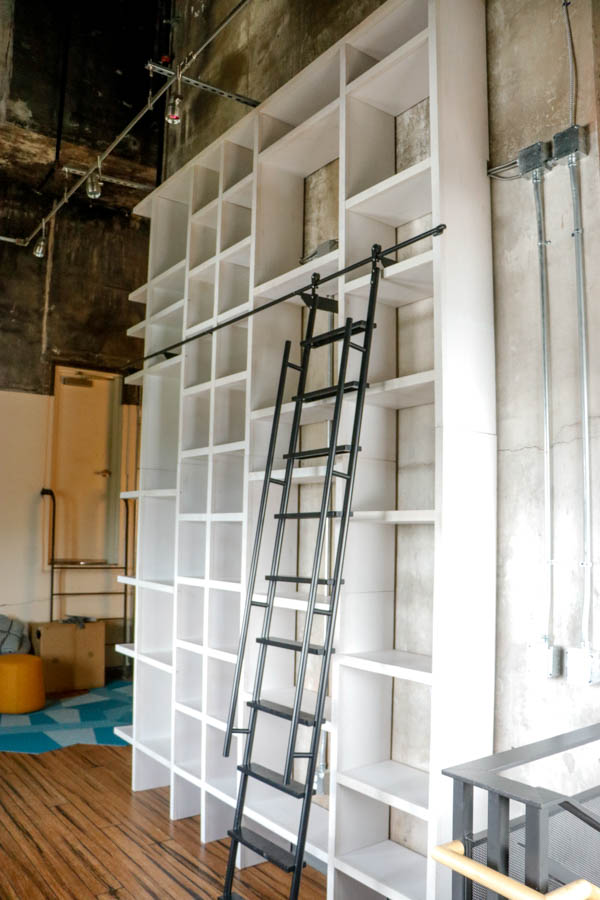
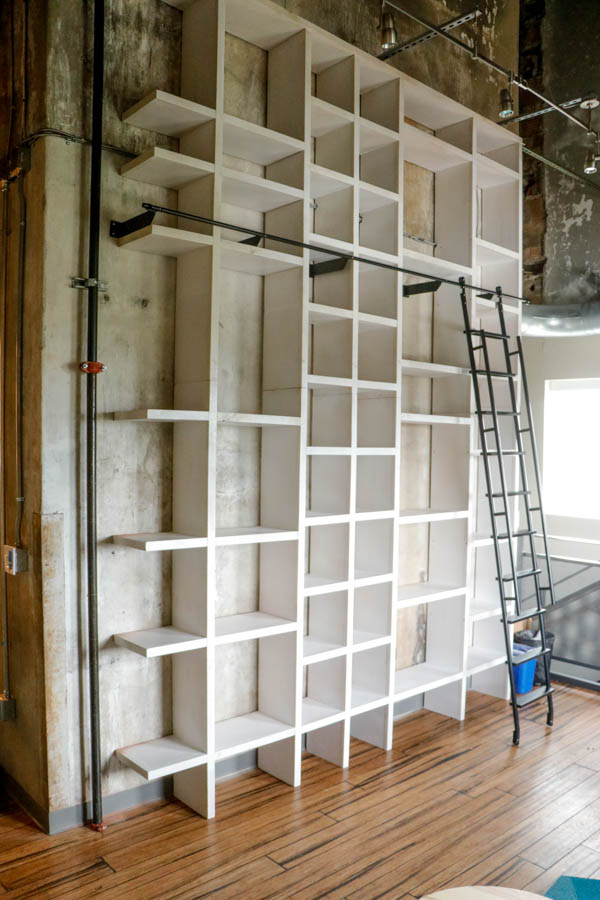
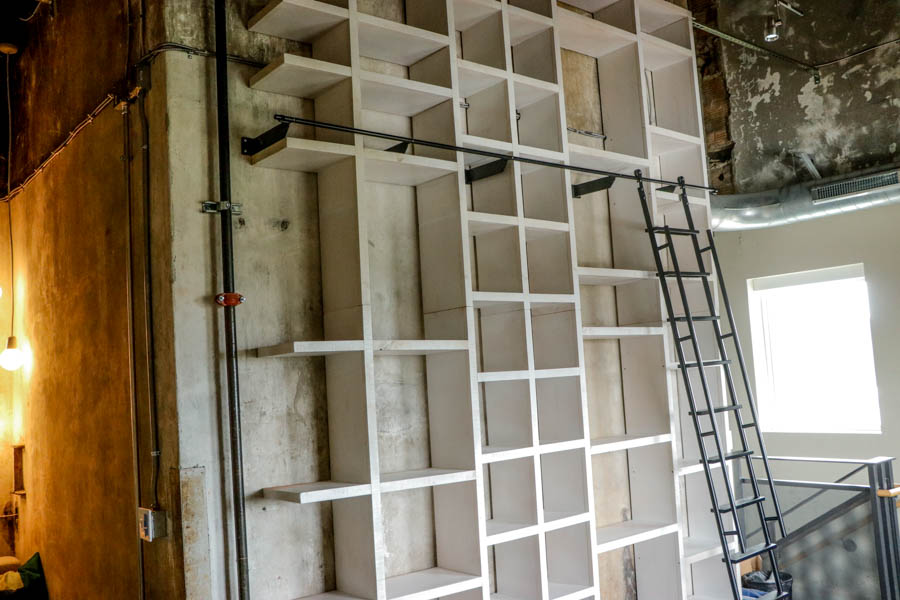
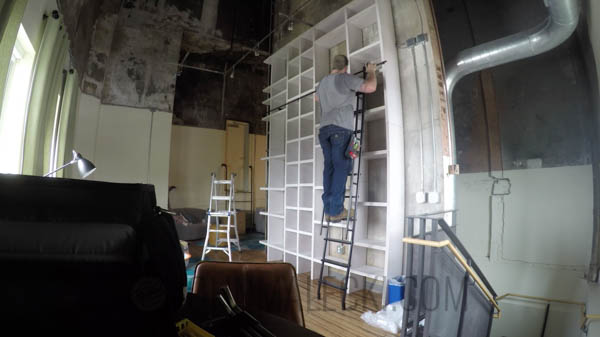
In this video I go BIG. Literally, I build a gigantic bookcase for a local office space in Pittsburgh, PA. This Video features all the techniques I used and shows the scale of this monster.
Check out the video and walk through below!
If you would like to attempt this project on your own, here are a few tools I recommend!
- Table Saw
- Tape Measure
- Impact Driver
- Drill
- Mitre Saw
- Jointer
- Graco Finish Pro HVLP
- Endurovar Finish
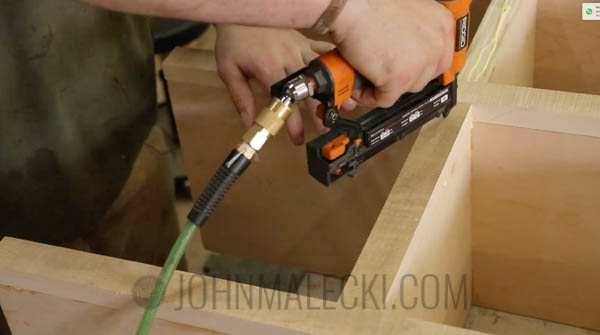
- 23g Pin Nailer
- Japanese Cut Off Saw
Affiliate links are posted for your convenience and by using these links it provides support for the site at NO COST TO YOU. By purchasing anything through the links (even other products not listed) You help support the production of more quality content.
FULL TUTORIAL
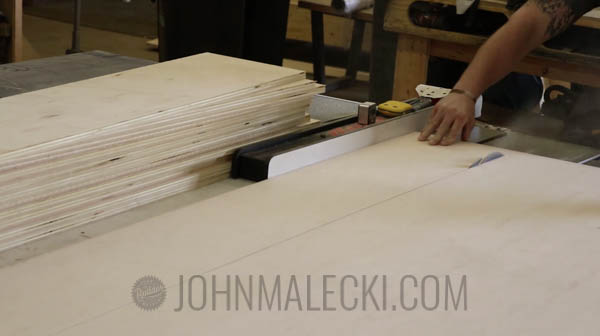
Breakdown Material
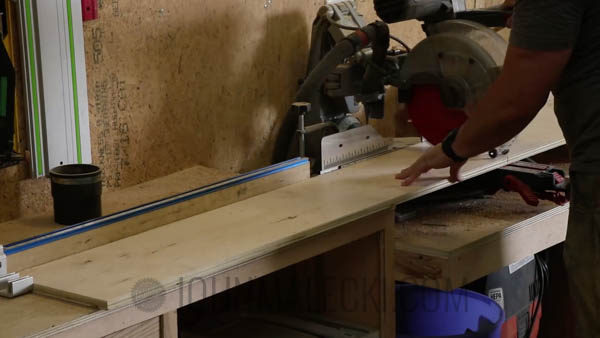
STEP 1
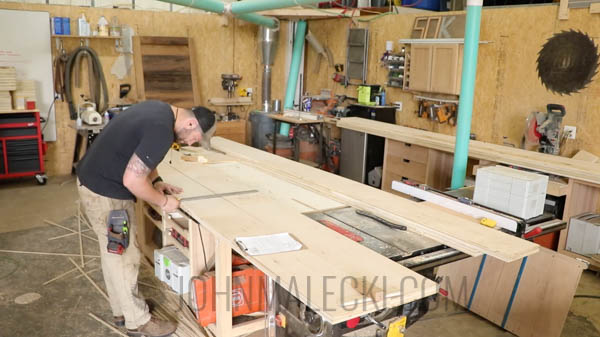
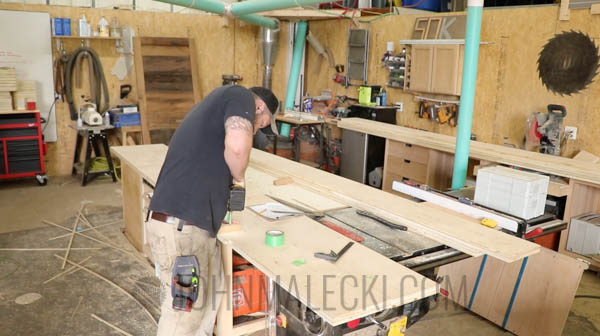
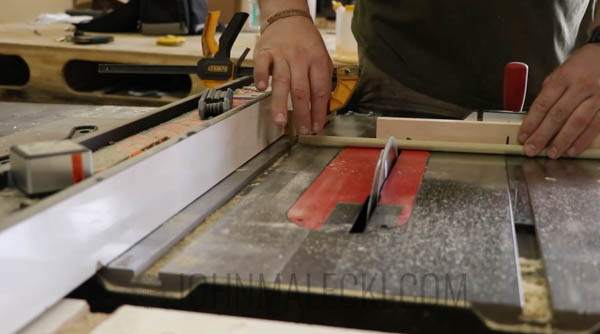
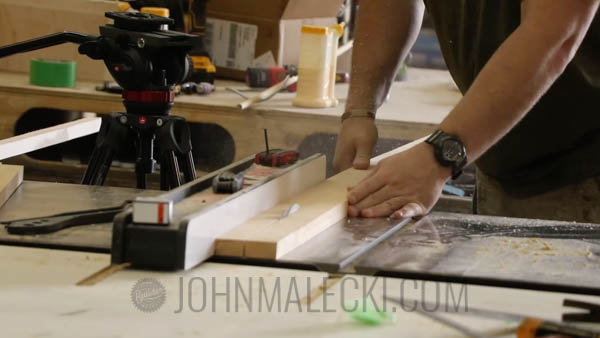
Begin by breaking down your plywood into the dimensions of your vertical boards. I cut mine into 11.25″ strips from the large sheet, then down to final 11″.

Glue Up Parts
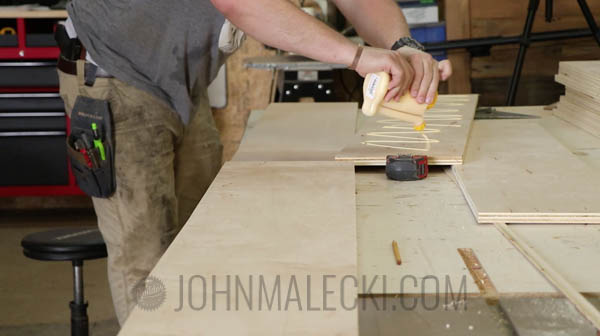
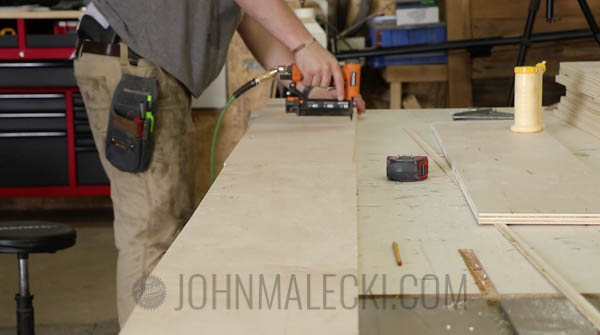
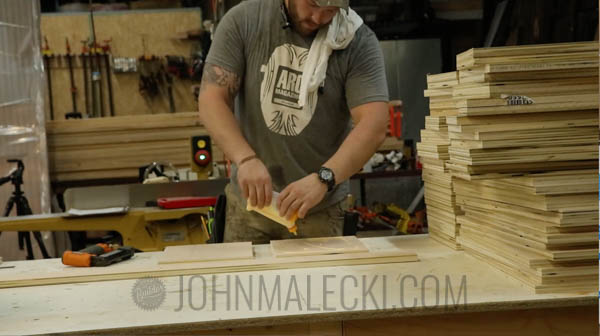
STEP 2
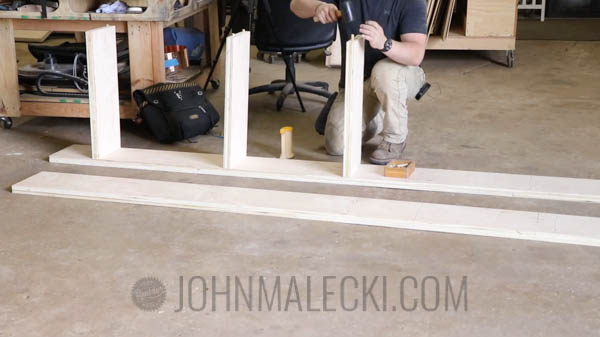
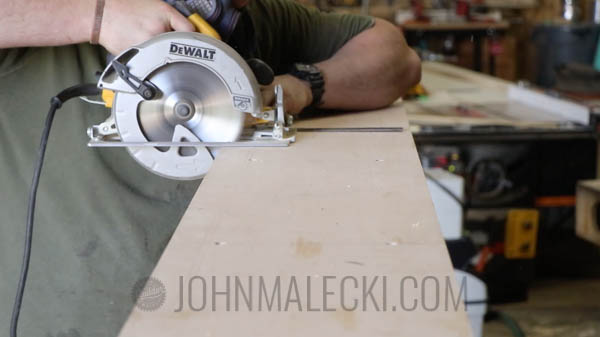
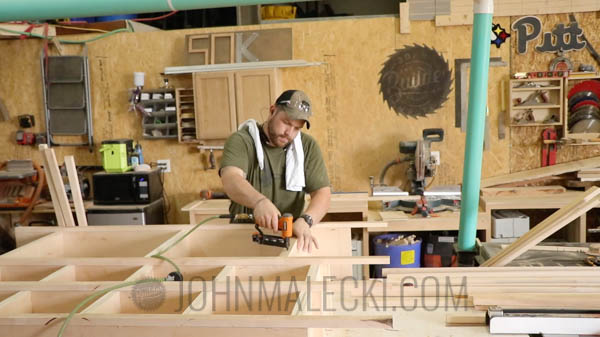
Rough cut down all your shelving to size. Stack them neatly so you can stare at how much work you put into the neatness of the pile, then destroy it by gluing everything up. I use 1.25″ 23g pin nails and tons of glue.

STEP 3
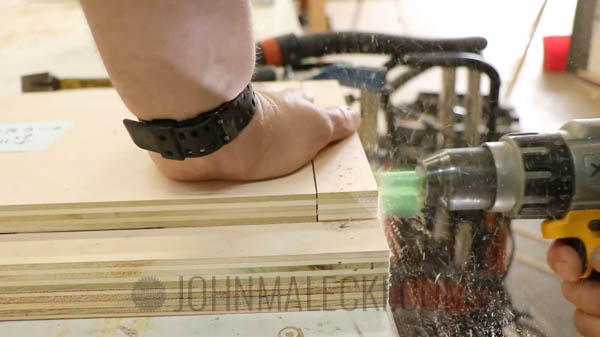
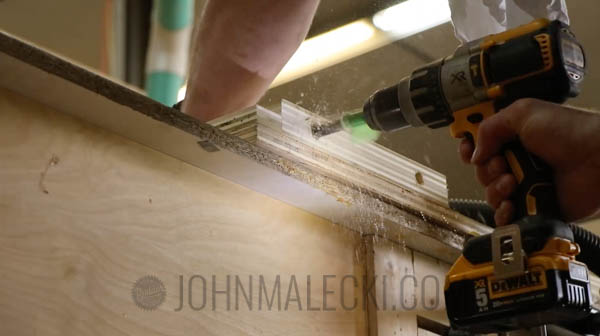
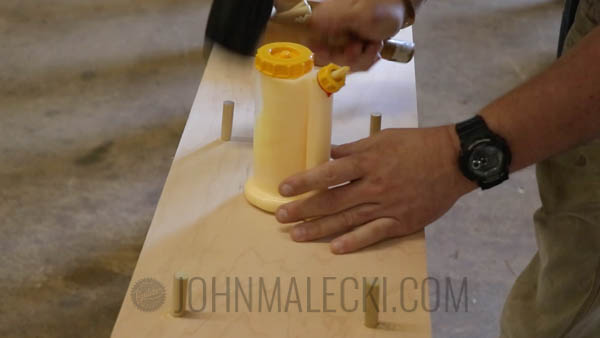
Mark out all the locations for the shelves on your vertical partitions. Be sure to reference the correct faces so everything lines up. Use a jig, and drill perpendicular holes half way through the partitions. Cut the coordinating holes in all of the shelves.
STEP 4
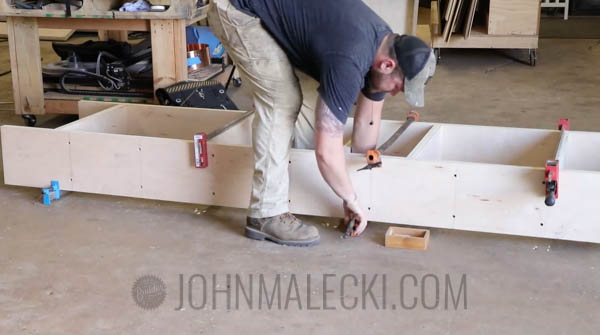
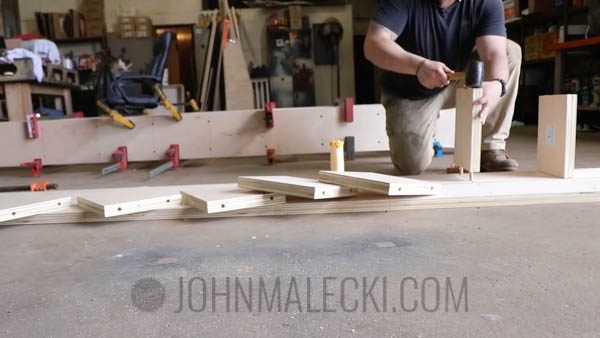
Cut all of the dowels you will need, and begin assembling the largest part of the carcass. For my build, it was the center. 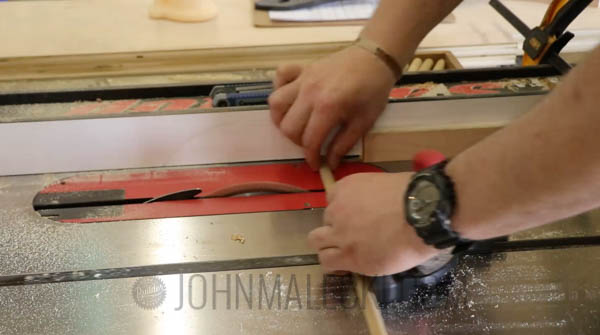
STEP 5
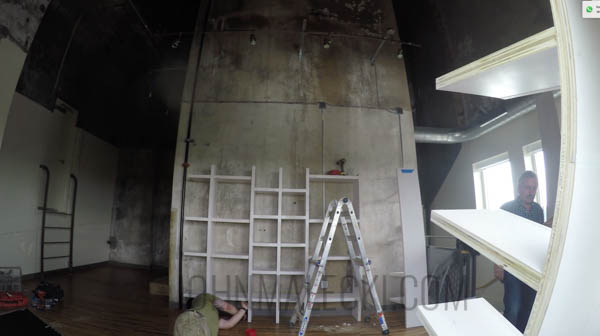
Make huge mistakes like me, and cut the whole thing in half. NO DONT DO THAT. I had to make an adjustment mid build for the elevator and stairwell issues at the delivery site. Be sure to prep to make sure it fits in the room it is going into.
STEP 6
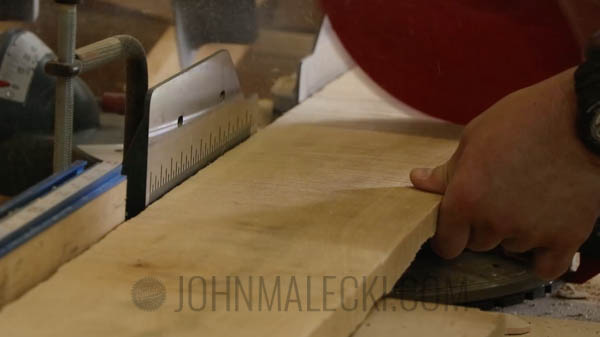
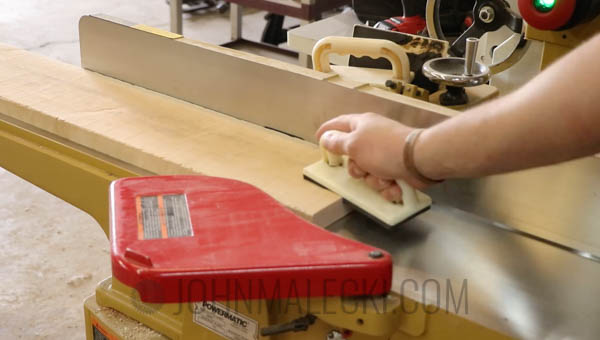
Rough cut your face frame material (rough sawn soft maple) and cut it into 1.5″ strips. Start by jointing one face and a perpendicular side. Then cut your strips from the flat part as reference. This will leave the “rustic” top
Final Assembly and Finish
STEP 7
Glue the face frame onto the carcasses. Sand appropriately and finish with paint and a coat of water based poly. Then Install.
I hope you enjoyed this build. If you like it please comment and share!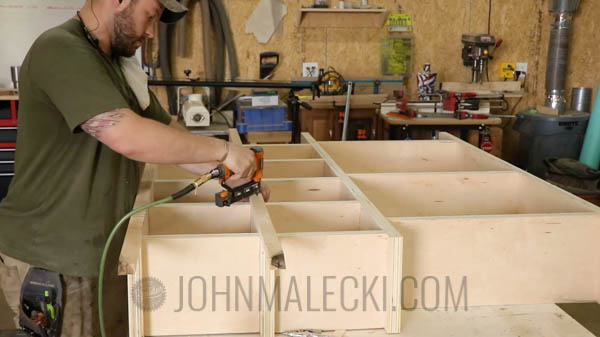
Please share and comment below with any questions about this product.


Nice work, love the bookcase.
Do you have a source for the supplier of the ladder and railing? Thanks.
I do not, it was supplied by the office. Etsy has some good options i would assume
Comments are closed.