DIY RUSTIC FARMHOUSE DINING TABLE
VIDEO TUTORIAL ON RUSTIC FARMHOUSE DINING TABLE WITH CURVED PEDESTAL BASE
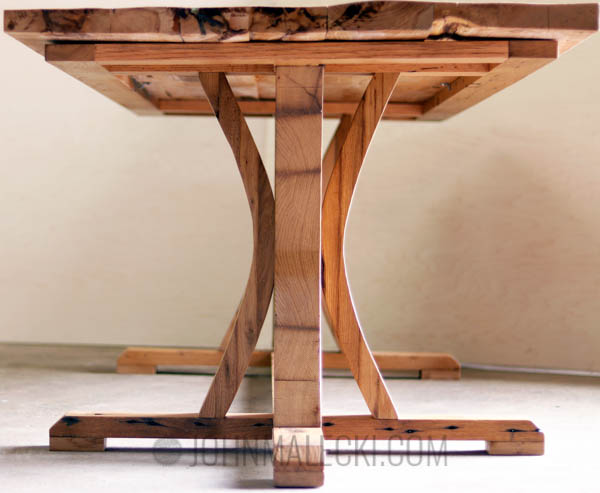
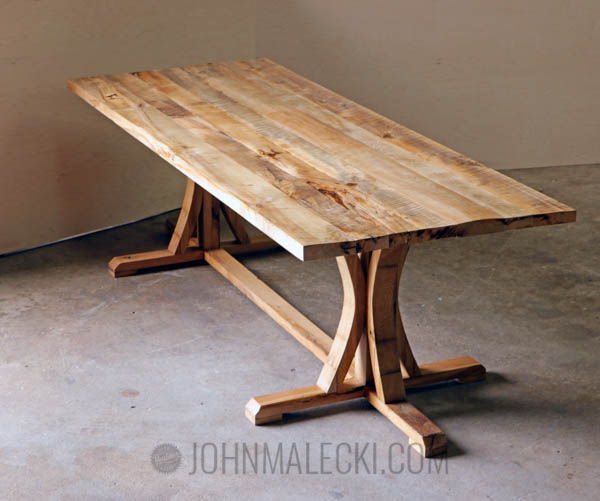
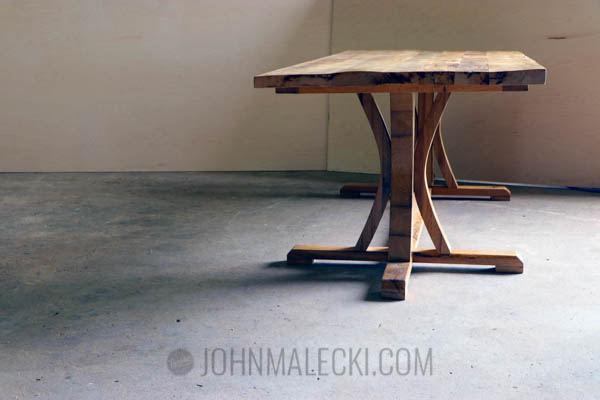
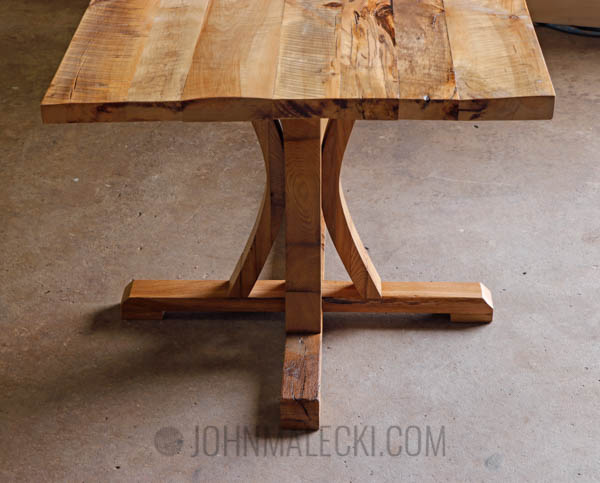
I’m back with another Rustic Farmhouse Dining Table. Except this time i change it up, and instead of the standard “X” or “H” style, I add some curves to the base. This build has some great tricks and techniques to get a unique look and learn some more advanced woodworking techniques.
Check out the video and walk through below!
Purchase a Rustic Farmhouse Dining Table plan here!
If you would like to attempt this project on your own, here are a few tools I recommend!
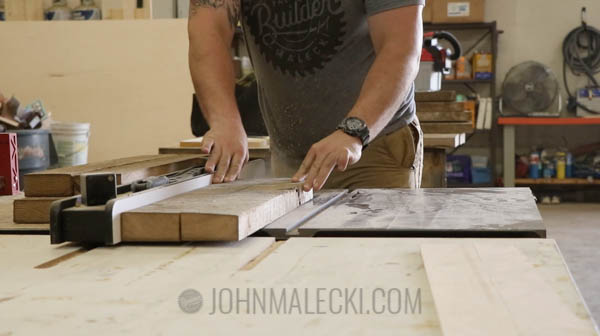
- Table Saw
- Tape Measure
- Impact Driver
- Drill
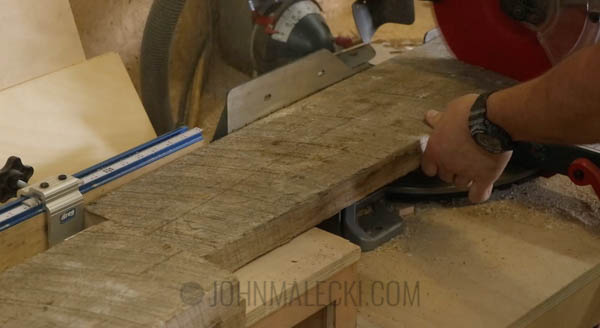
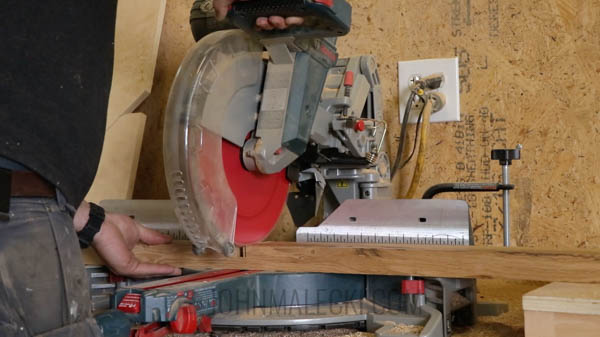
- Mitre Saw
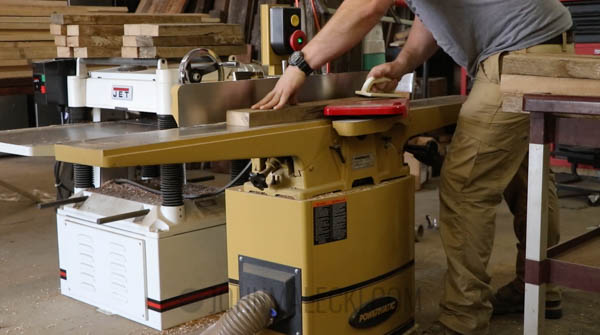
- Jointer
- Planer
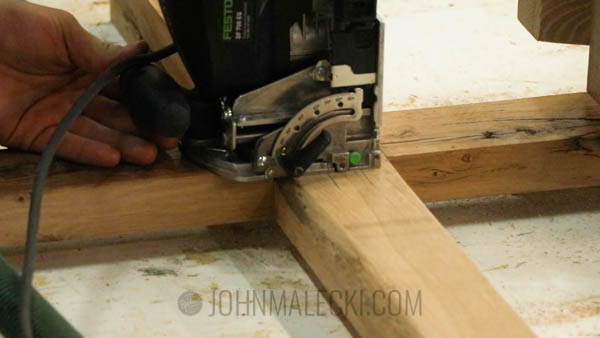
- Festool Domino XL
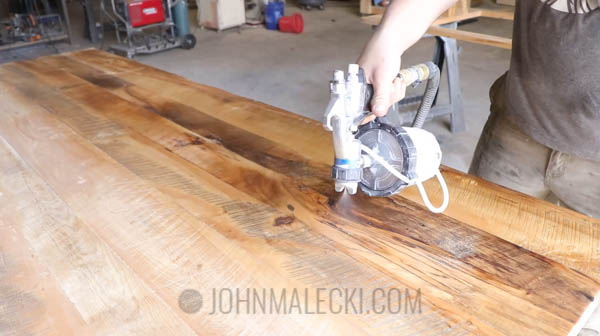
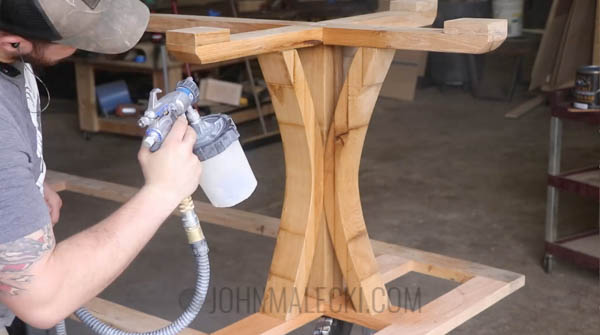
- Graco Finish Pro HVLP
- RIDGID Spindle Sander
- Woodriver #5 Hand Plane
- Endurovar Finish
Affiliate links are posted for your convenience and by using these links it provides support for the site at NO COST TO YOU. By purchasing anything through the links (even other products not listed) You help support the production of more quality content.
Glue Up the Top
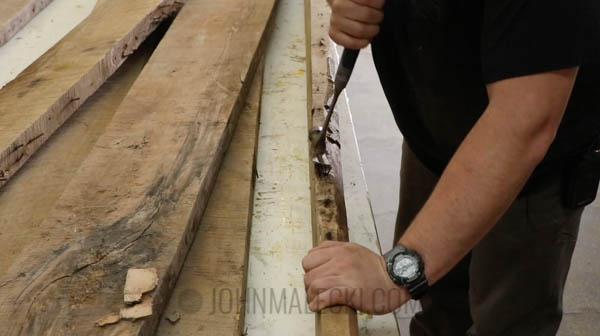
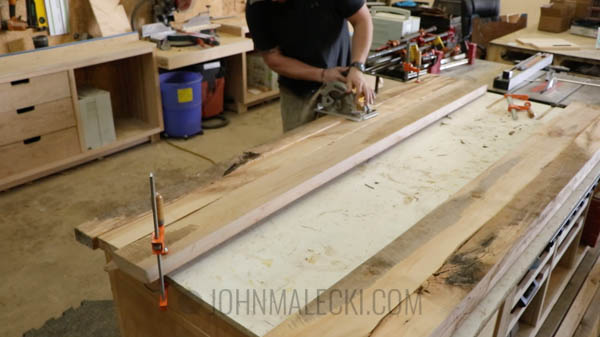
- Choose your wood. If using reclaimed remove all of the nails, if you cannot remove them hit them below the face of the wood.
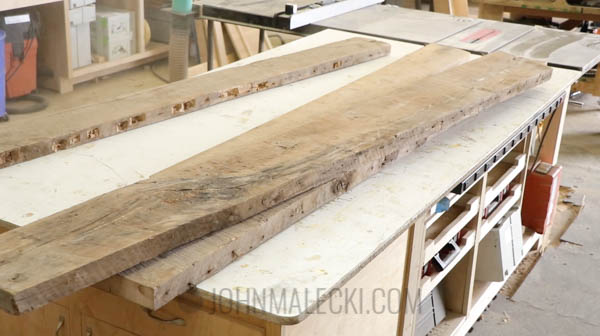
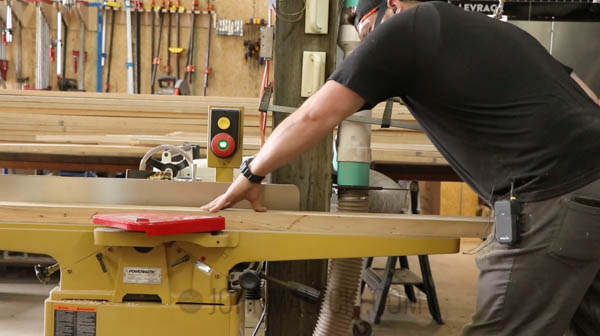
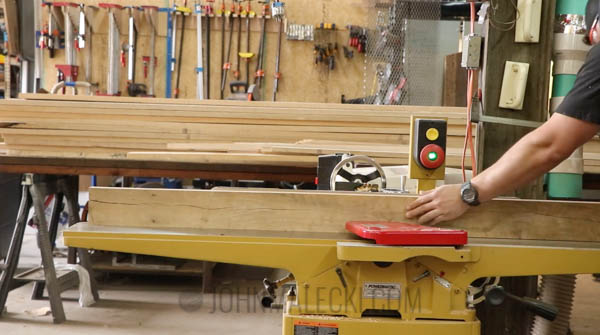
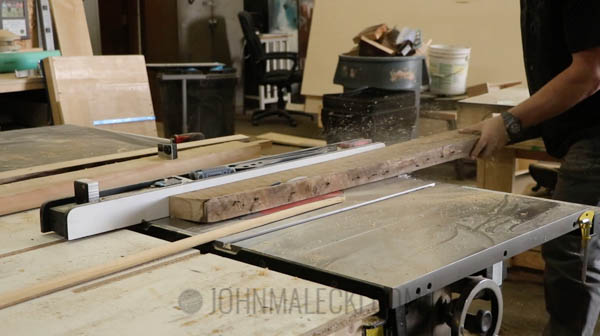
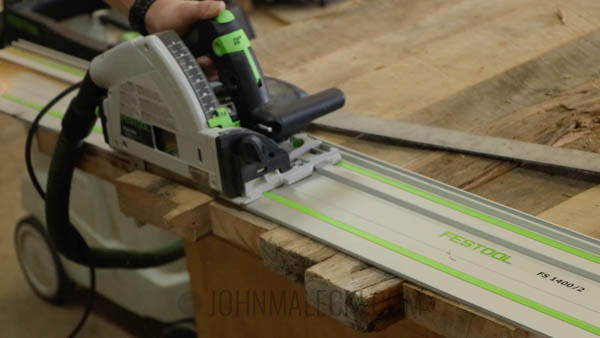
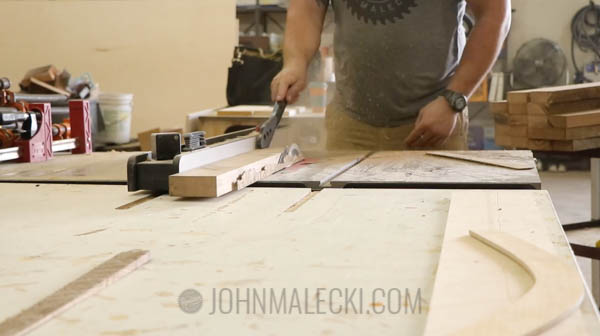
- Joint the bottom and a single side of your wood if you’re using reclaimed wood. This preserves the saw marks. Then to the table saw to square the second side.
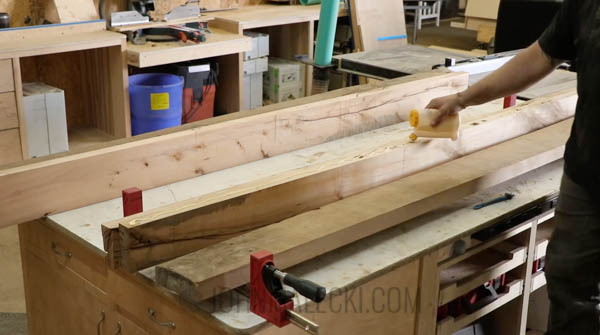
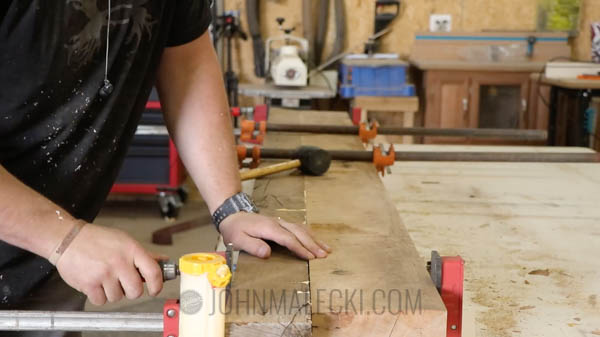
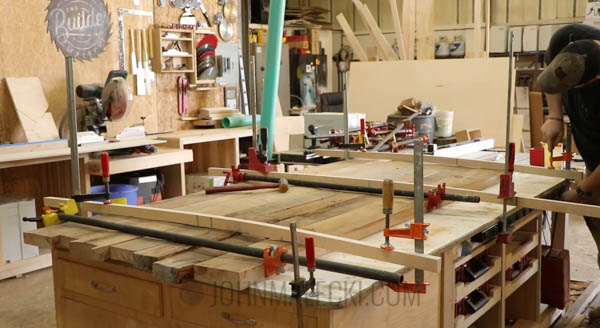
- Glue up top in thirds. After drying relief cut the bottom if there is still any twice. Use a planer sled to flatten bottom of 3 sections. Glue up whole top.
Mill and Assemble the Base
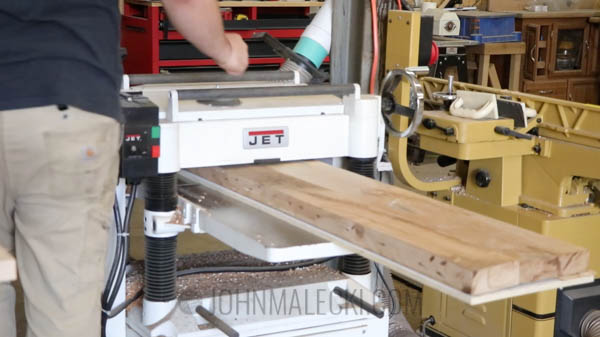
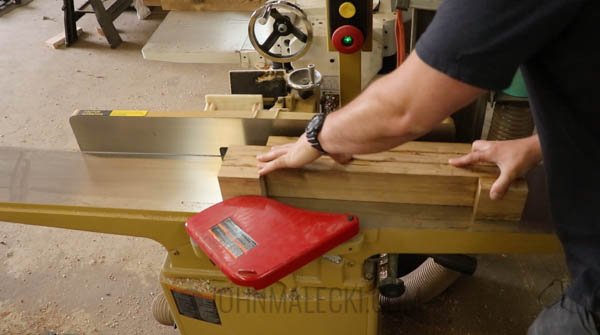
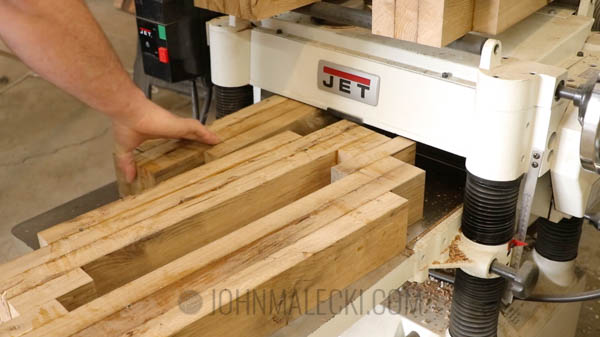
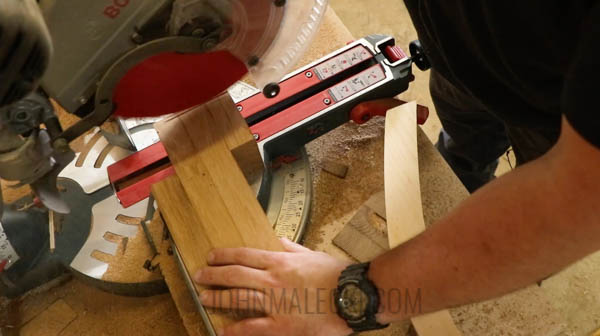
- After drying take your table top out of clamps. Mill down stock for base, rough cut, joint, plane, and saw to size.
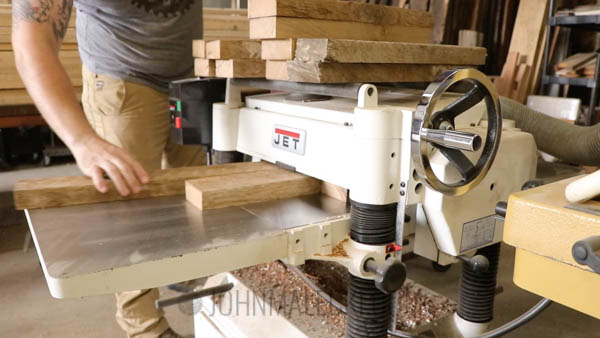
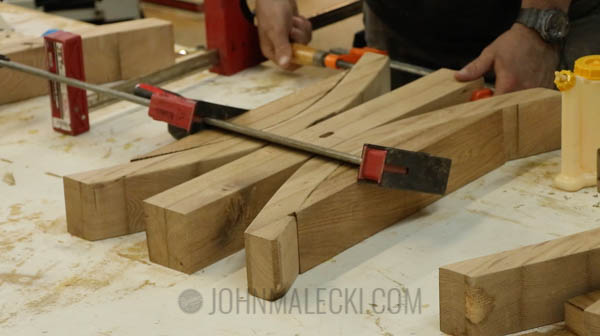
- Glue up blanks for pedestals. After drying joint one side and plane to square. Then cut down to final dimension
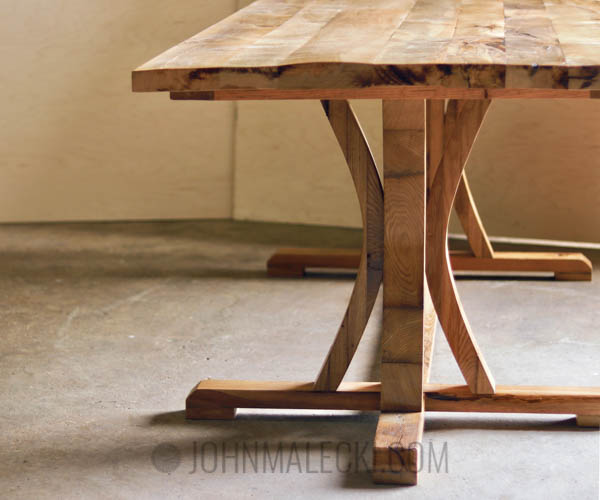
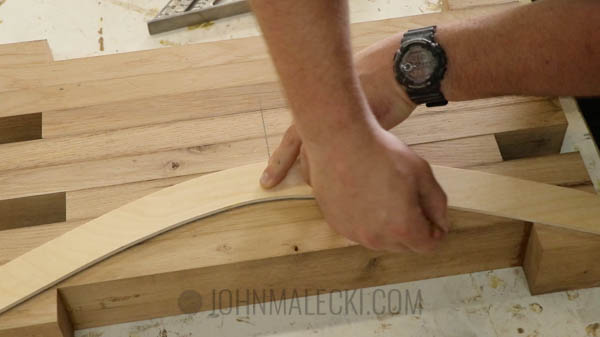
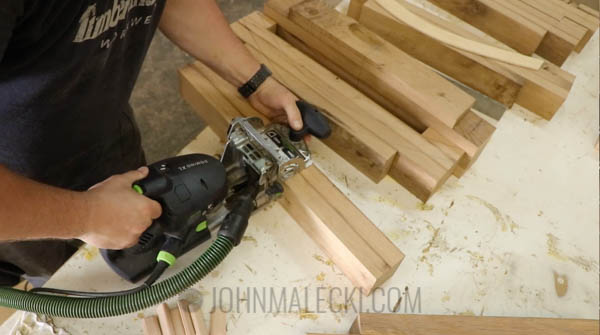
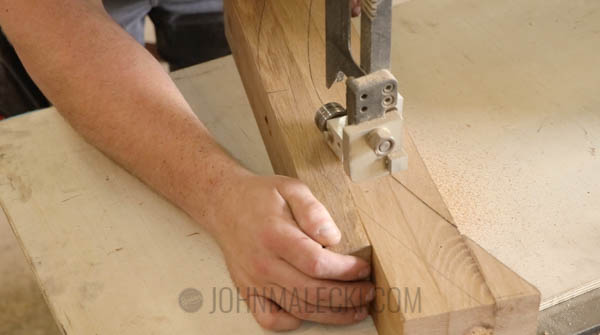
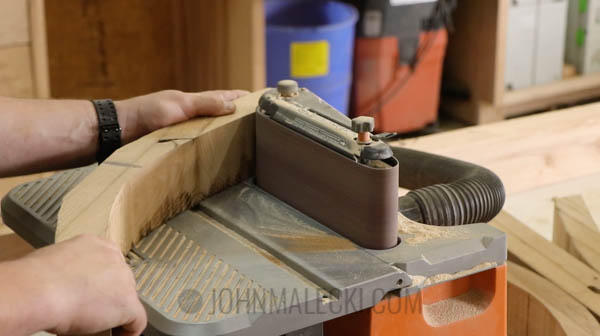
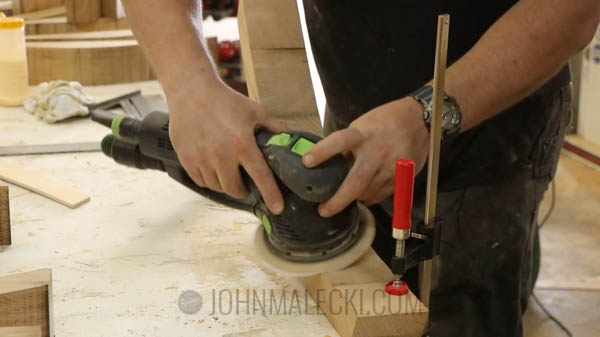
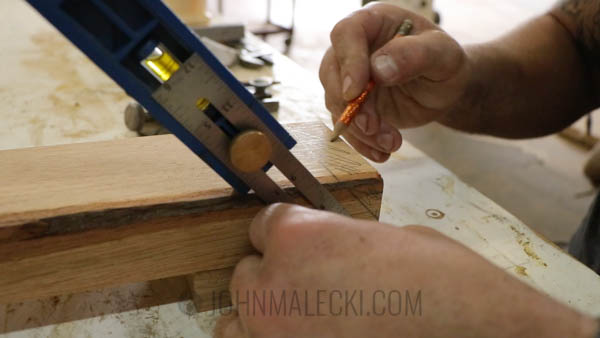
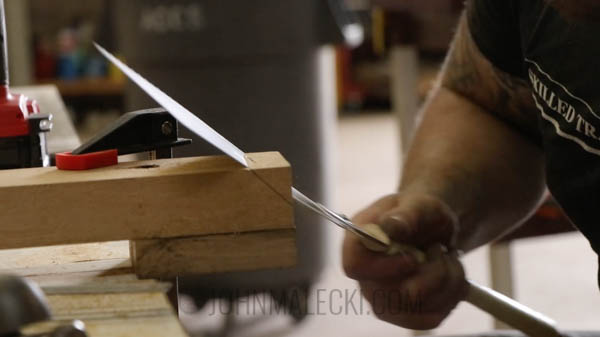
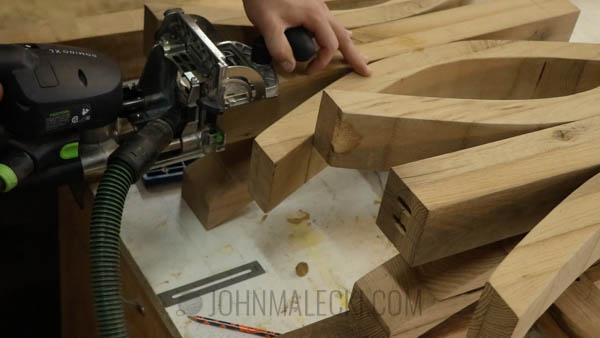
- Layout curve on blanks. Cut mortises for joinery. Cut curves. Sand smooth on orbital or with hand sander. Glue and clamp.
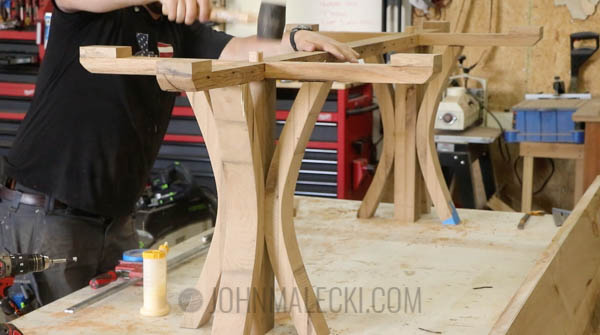
Assemble the Base
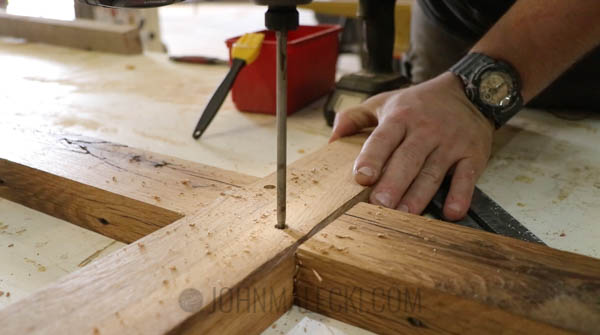
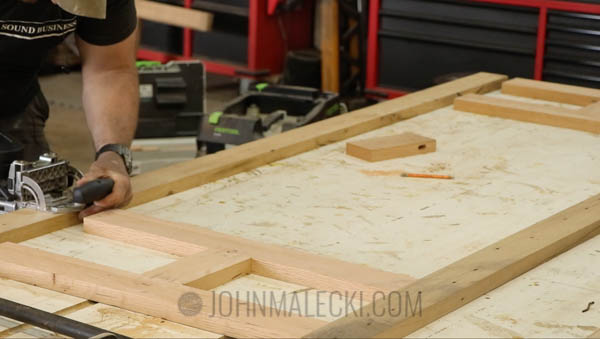
- Measure out lap joints on table feet. Cut on mitre saw or with table saw. Join crosses with glue and screws. Mark out and cut chamfer on feet.
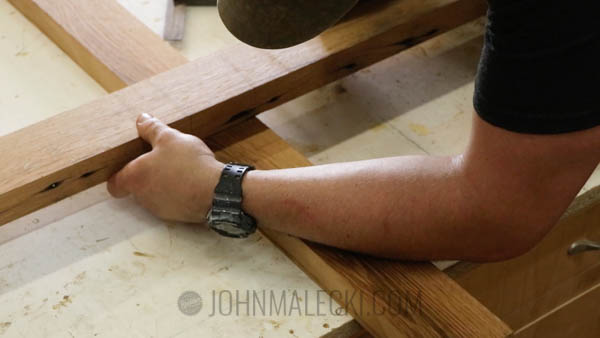
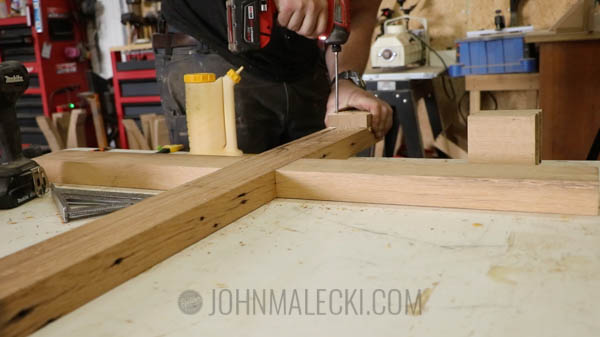
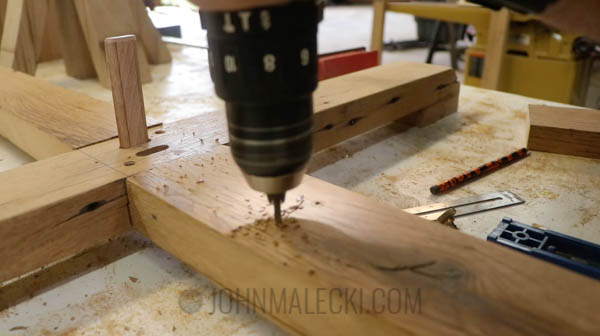
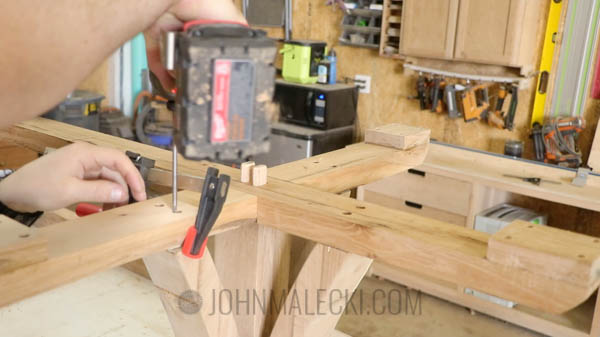
- Joint and glue up sub base. Layout and cut joinery for posts. Predrill and countersink for curves joinery. Join with 3″ screws
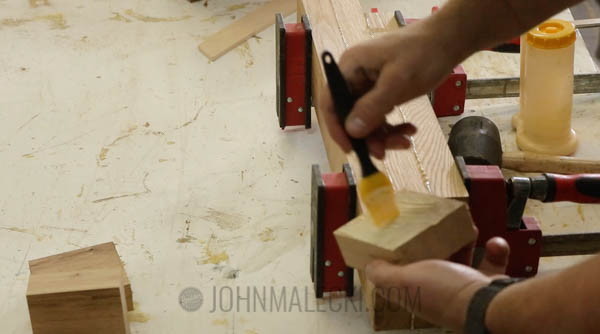
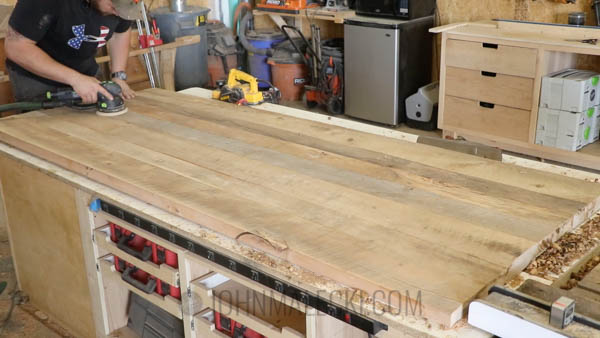
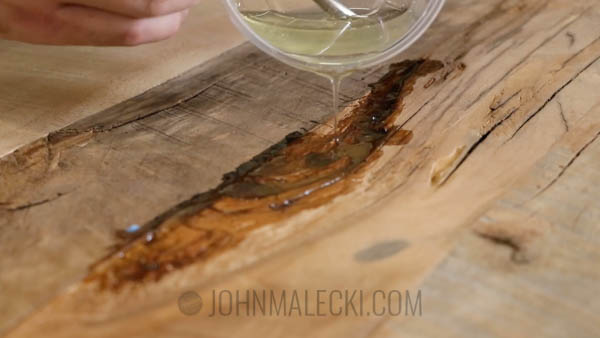
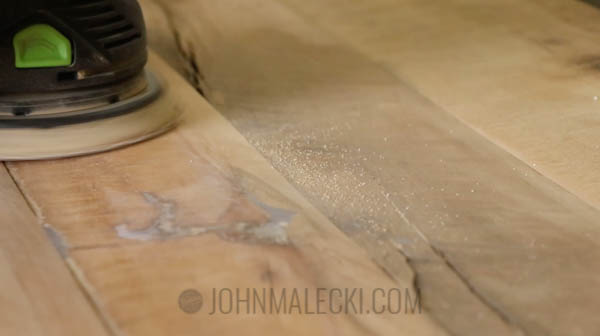
- Sand top and fill any voids with epoxy. Sand dried epoxy and then finish with favorite finish. Attach your top and you’re done!
Dig this video???
Want to see some more of my videos ? Check out these other reclaimed wood projects HERE!!!
Please share and comment below with any questions about this product.


I really like your blog.. very nice colors & theme. Did you design this website yourself or did you hire someone to do it for you? Plz answer back as I’m looking to create my own blog and would like to find out where u got this from. thanks a lot
i did it myself!
Comments are closed.