Reclaimed Industrial Barn Door
How to make a chevron pattern barn door with metal banding.
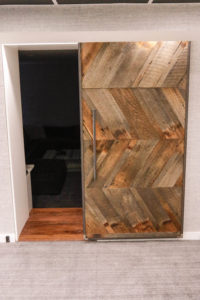
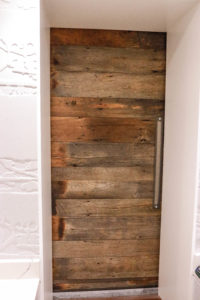
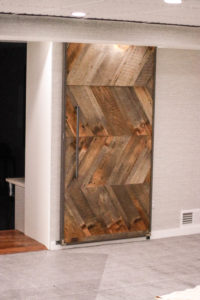
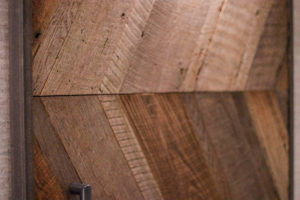
Recently I had a client who was looking for a barn door but wanted something out of the ordinary. I had recently torn down a barn with a buddy of mine and had a lot of the siding left over, and instead of using it in standard applications like panelling. I thought this would be a great way to showcase the wood. The Door itself is actually part of a pair, as you can see from the photos below.
This project was much easier than it looks, check out the full video and walk through on how I did it.
If you would like to attempt this project on your own, here are a few tools I recommend!
Check out the Full Build plan and cut list here – Industrial Barn Door Plan
If you wanna attempt this project yourself here is a simple walk through to help you out!
- Cut Metal
- Cut Wooden Door Panels
- Layout panel Style
- Rough Cut Solid Wood
- Layout Solid Wood & Panel
- Assemble Wooden Panels
- Fasten Back Slats
- Weld Door Frame & Finish
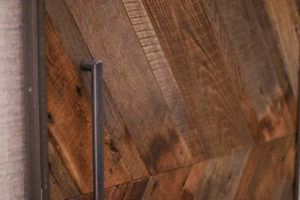
- Attach Hardware & Mount
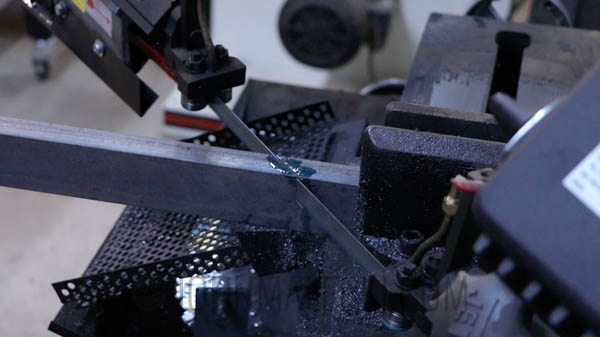
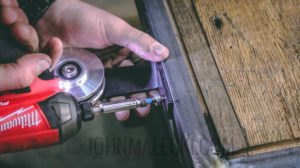
Cut Metal
Cut down your metal stock to reasonable sizes. The cut your miters to the size you want the door. Measure the interior dimensions of the C Channel for the door panels
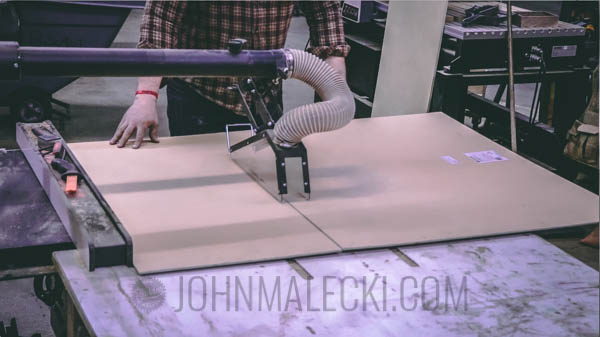
Cut Wooden Door Panels
Divide your interior door height into the number of panels you want. Using your choice of saw, cut your panel cores out of 1/4″ plywood.
Layout Door Style
Pick the pattern you want for your panels and trace them out onto the door panel cores.
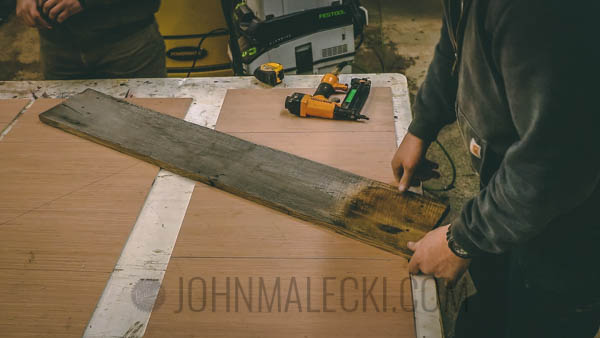
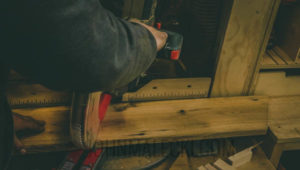
Layout Sold Wood & Panels
Layout your solid wood pieces onto the panels. Choose your orientation at this point. Its a good time to mark and rough cut your material down to size. You can clean up the edges once the panel is assembled using a track saw.
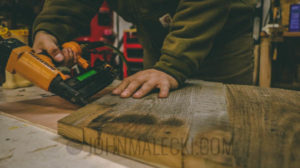
Assemble Wood Panels
Using glue and brad nails, assemble your door panels. Set your fasteners on the edges of the boards to avoid visible nail heads. You’ll then flip over the panel when every board is attached and nail from the back.
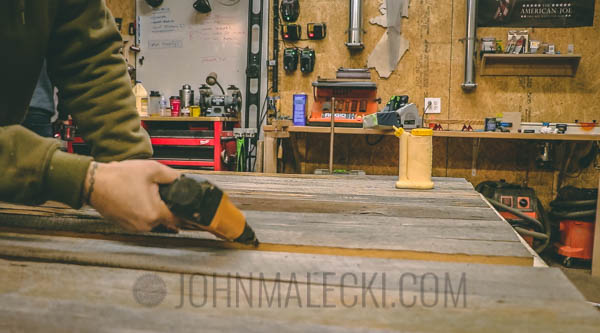
Fasten Back Slats
Cut all of your back slats to the width of the interior door panel. Use glue and brads to fasten tot he core. Keep tight seams and do your best to hide the nail heads.
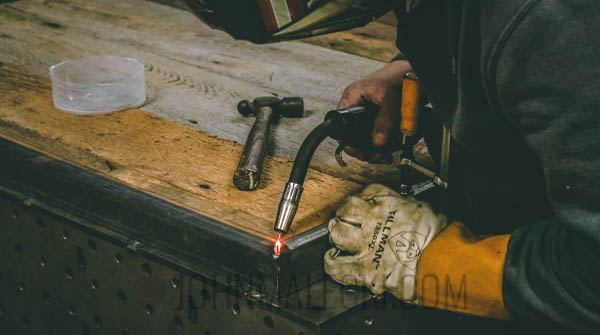
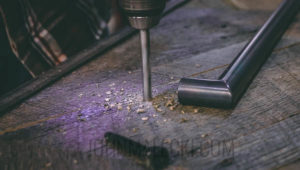
Weld Door Frame & Finish
once the interior or “core” is assembled. Weld the C Channel frame around the door. Tack weld each corner, then finish weld and grind out your welds on one side. Flip the door and repeat. Once assembled, sand your burn marks and finish your door with clear coat. Seal your metal with paste wax.
Attach Hardware & Mount
Attach the hardware for the door according to manufacturers specifications, and do the same with the wall mount.
Check out some of my reclaimed wood video projects HERE!!!
- DIY Reclaimed Farmhouse Dining Table
- Building A Reclaimed “X” Trestle Dining Table
- How – To Build Reclaimed Industrial Tables
Affiliate links are posted for your convenience and by using these links it provides support for the site at NO COST TO YOU. By purchasing anything through the links (even other products not listed) You help support the production of more quality content.
Please share and comment below with any questions about this product.


