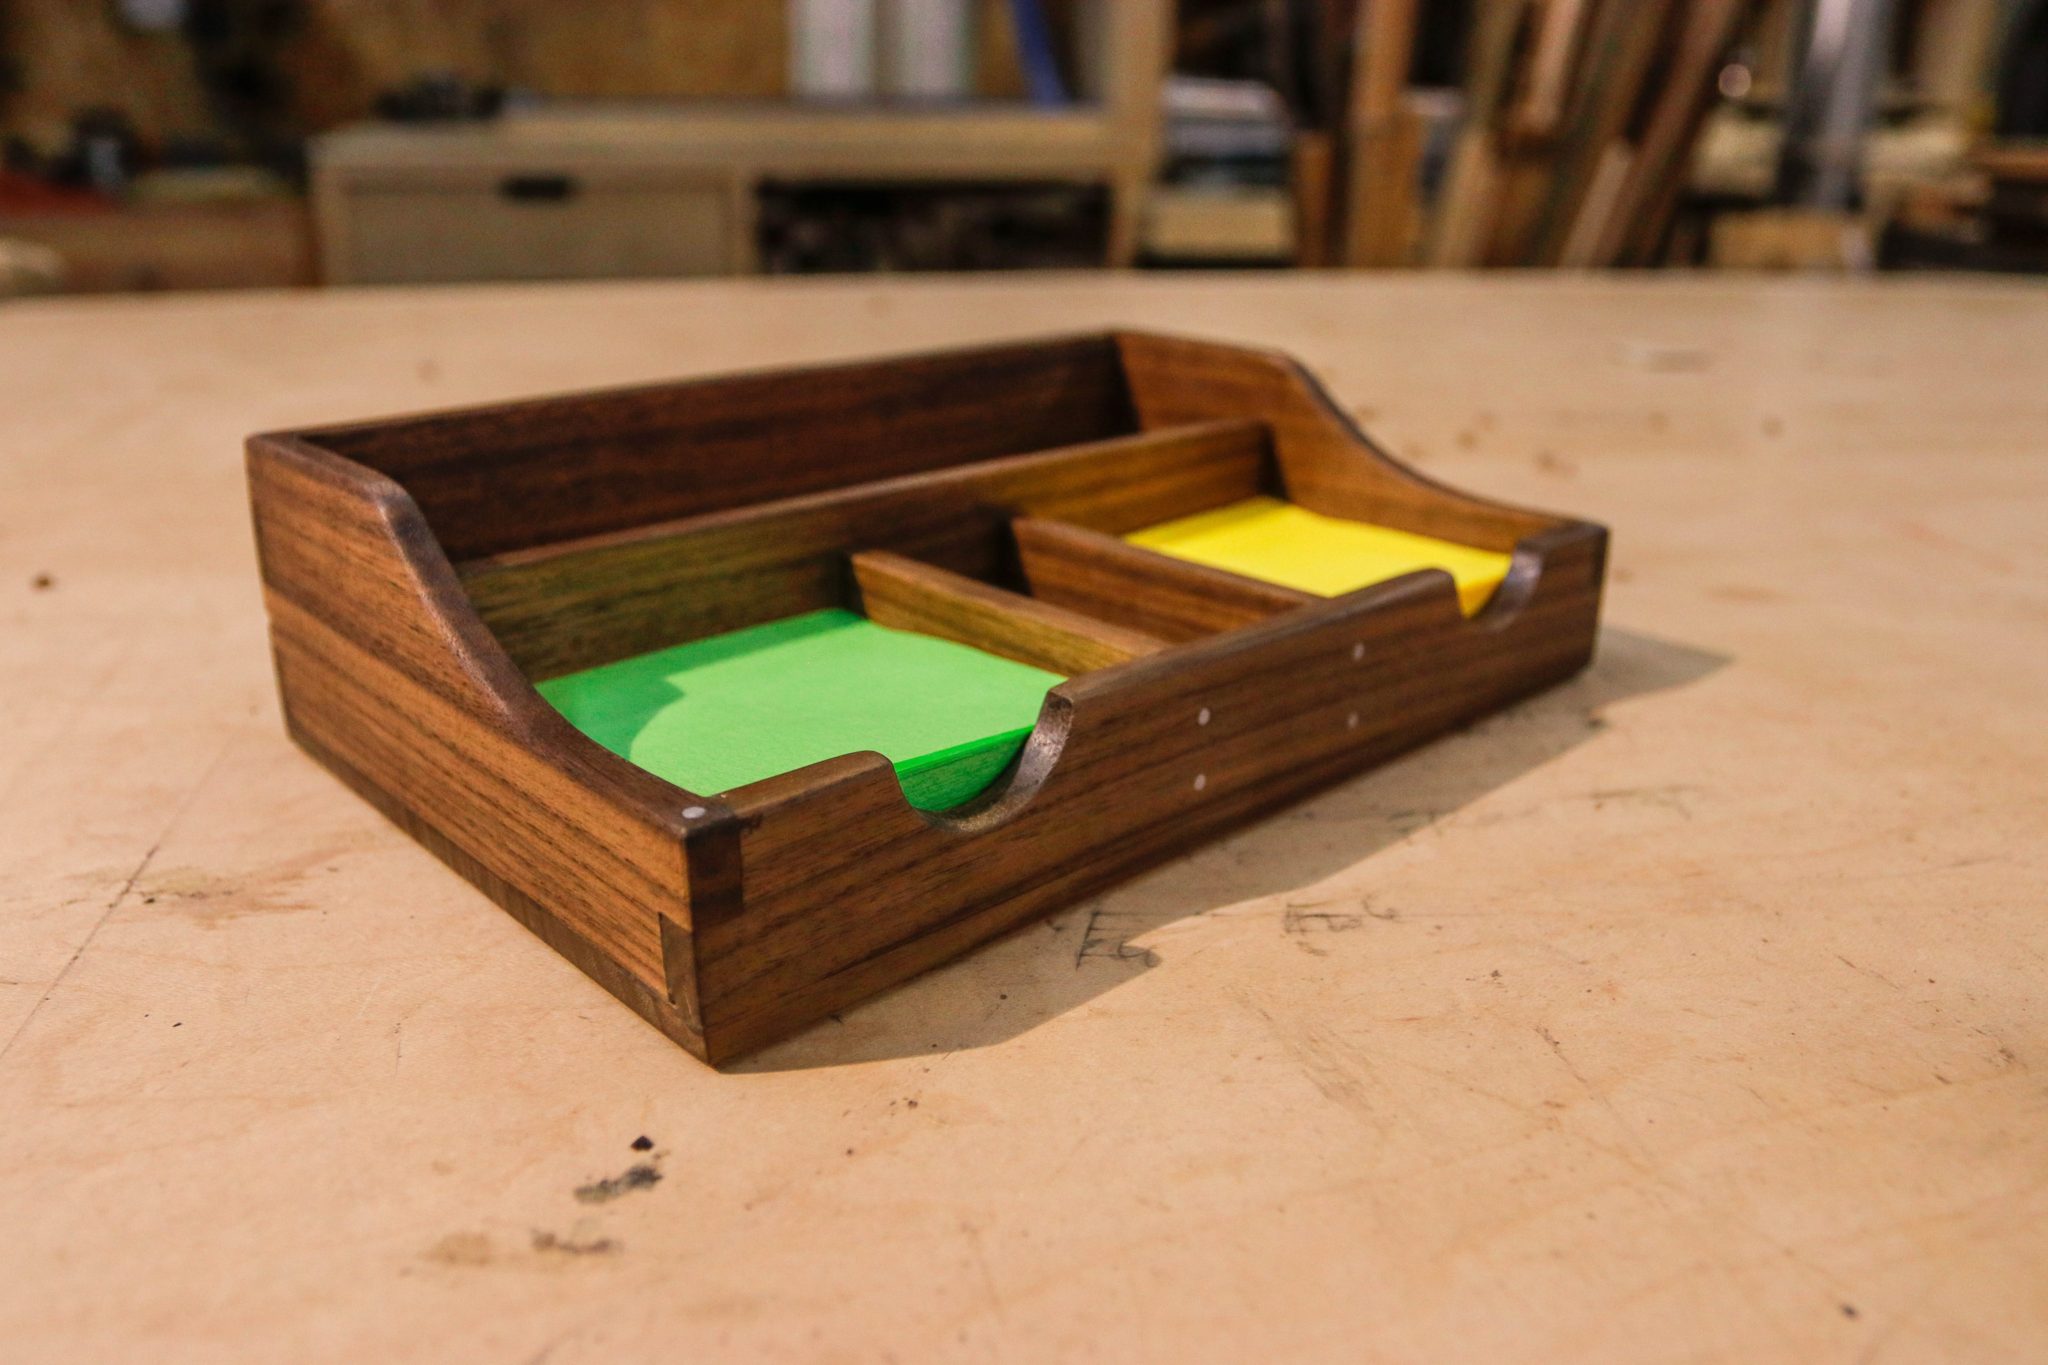
DIY Scrap Wood Desk Organizer
Use a piece of scrap wood to make a simple desk organizer!
In this video I build a Desk Organizer for my Post-it® Extreme Notes I have been using Post-it® Notes for years to help stay organized, keep track of tasks, and manage my business. With the conditions in a standard workshop, standard notes don’t always hold up.
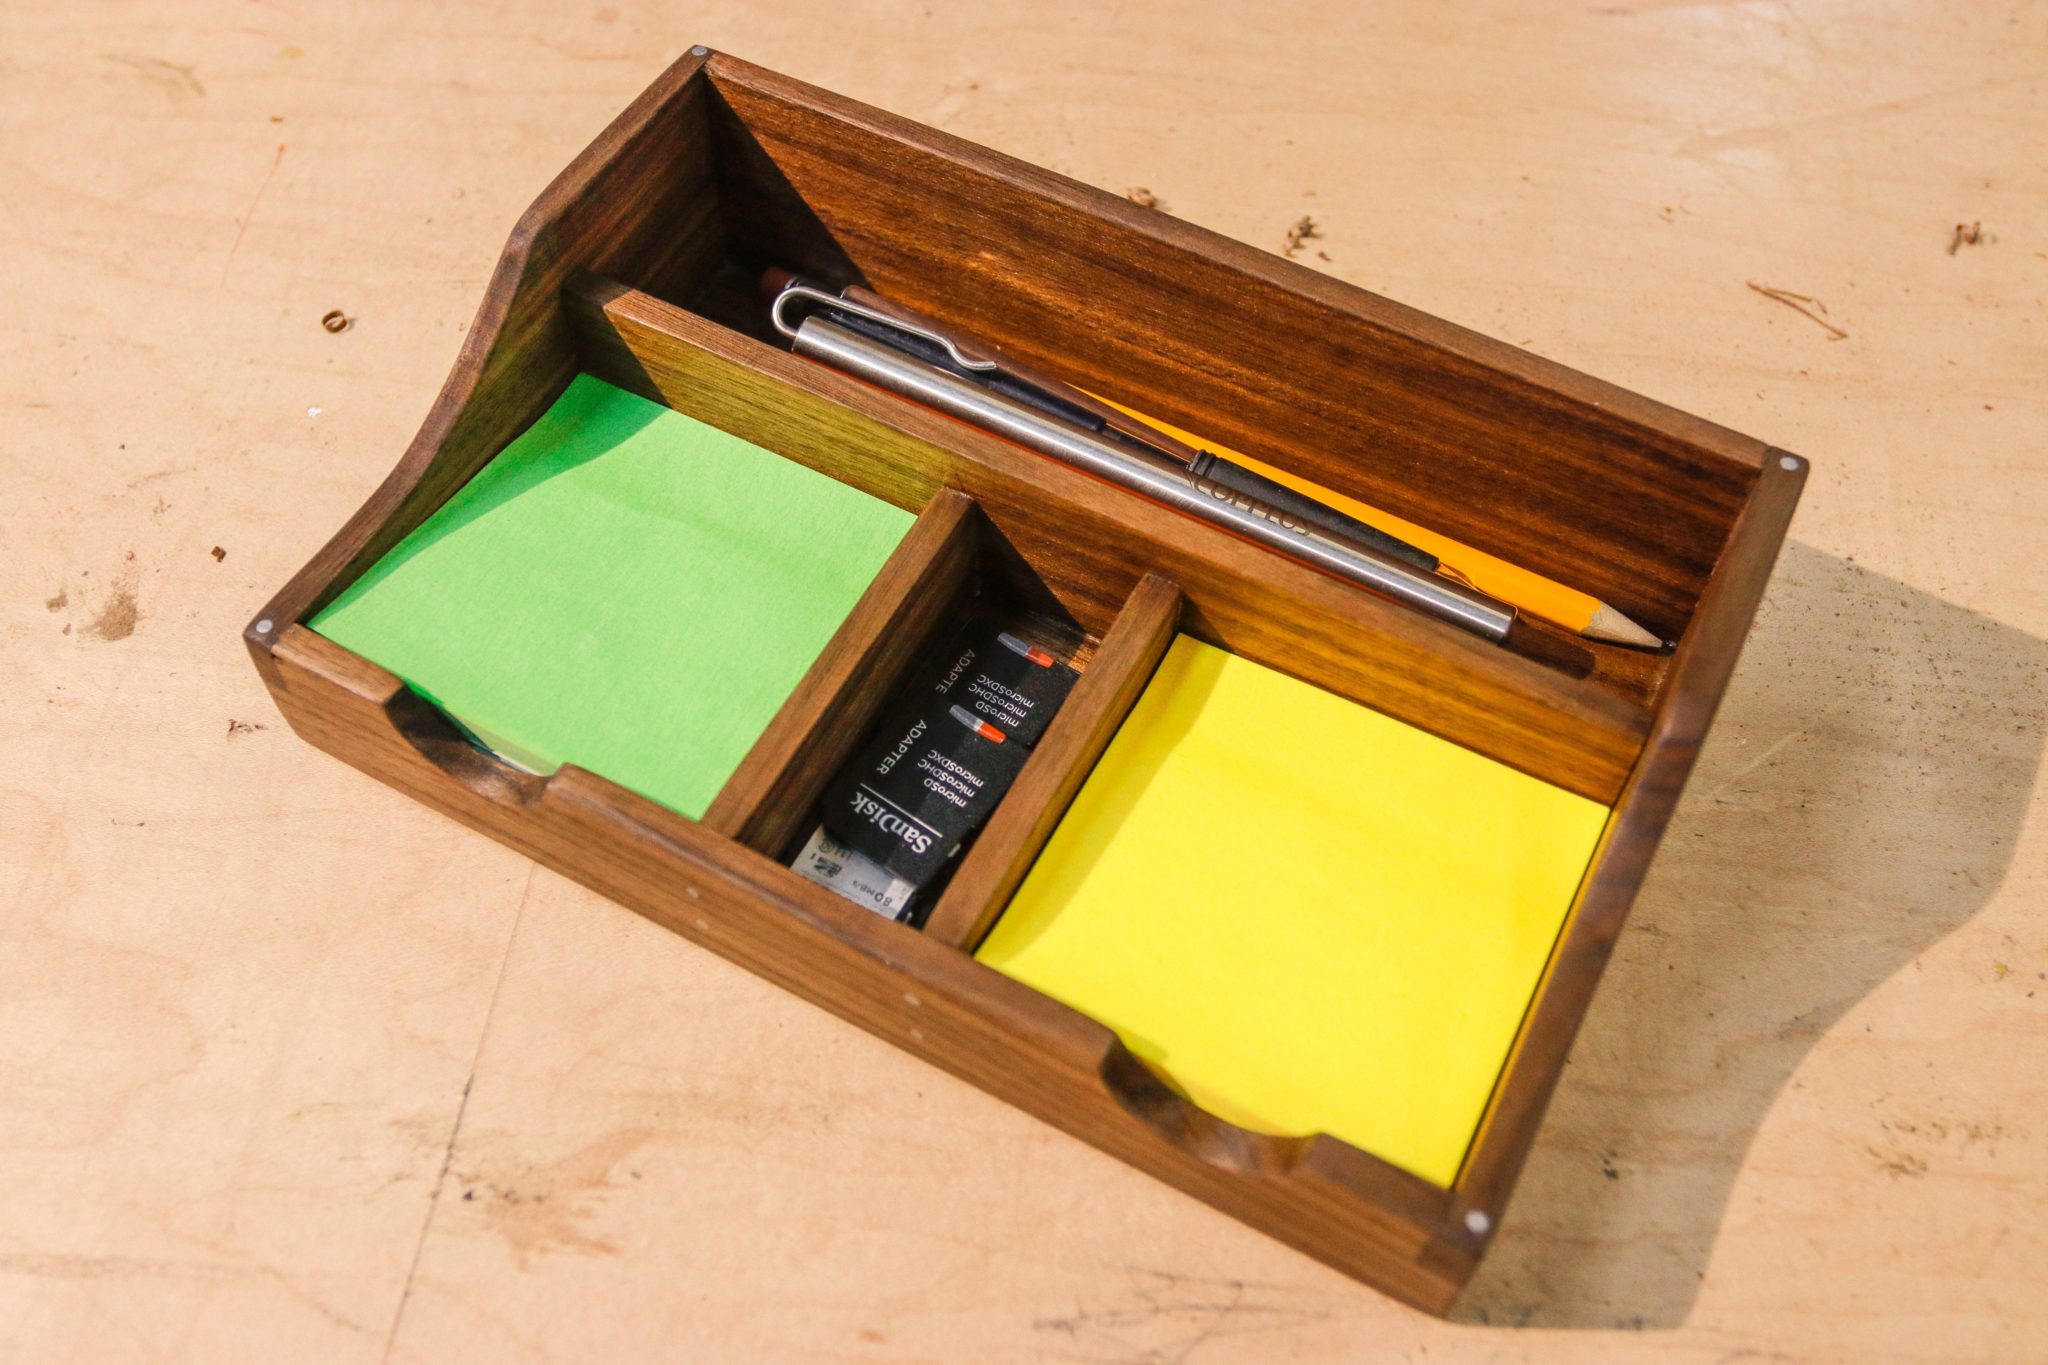
Post-it® Brand has recently developed the Post-it® Extreme Notes , which are designed to stick to a range of textured, tough surfaces like raw wood, brick, steel, tile, etc. and they hold up to more harsh conditions.They are made for to perform in moisture, extreme hot and cold temperatures and more. Because of this, the new Post-it® Extreme Notes are amazing for the workshop! They adhere to just about anything, and are water resistant as well. The notes also hold up in dirty and dusty environments when applied to a dry surface, and who’s shop isn’t dirty and dusty? They are great for keeping reminders, marking down project parts without writing on the parts themselves, and keeping basic notes off the project work surface. I have used standard notes in my office for years, and I am stoked to be able to bring more use of them into the shop!
Check out more from Post-it® Extreme Notes here !
![]()
Check out the Full Desk Organizer Video Here!
To tackle this project I have listed the products I recommend and use in my shop! You can check out the full list here !
Affiliate links are posted on this page. For more information on my Affiliate disclosure, check out my Disclosure Page.
This build is very basic and can be done in a variety of ways. I have broken it down into a few simple steps.
- Square/ Mill Stock
- Layout & Cut Parts
- Cut Joinery
- Cut Curves
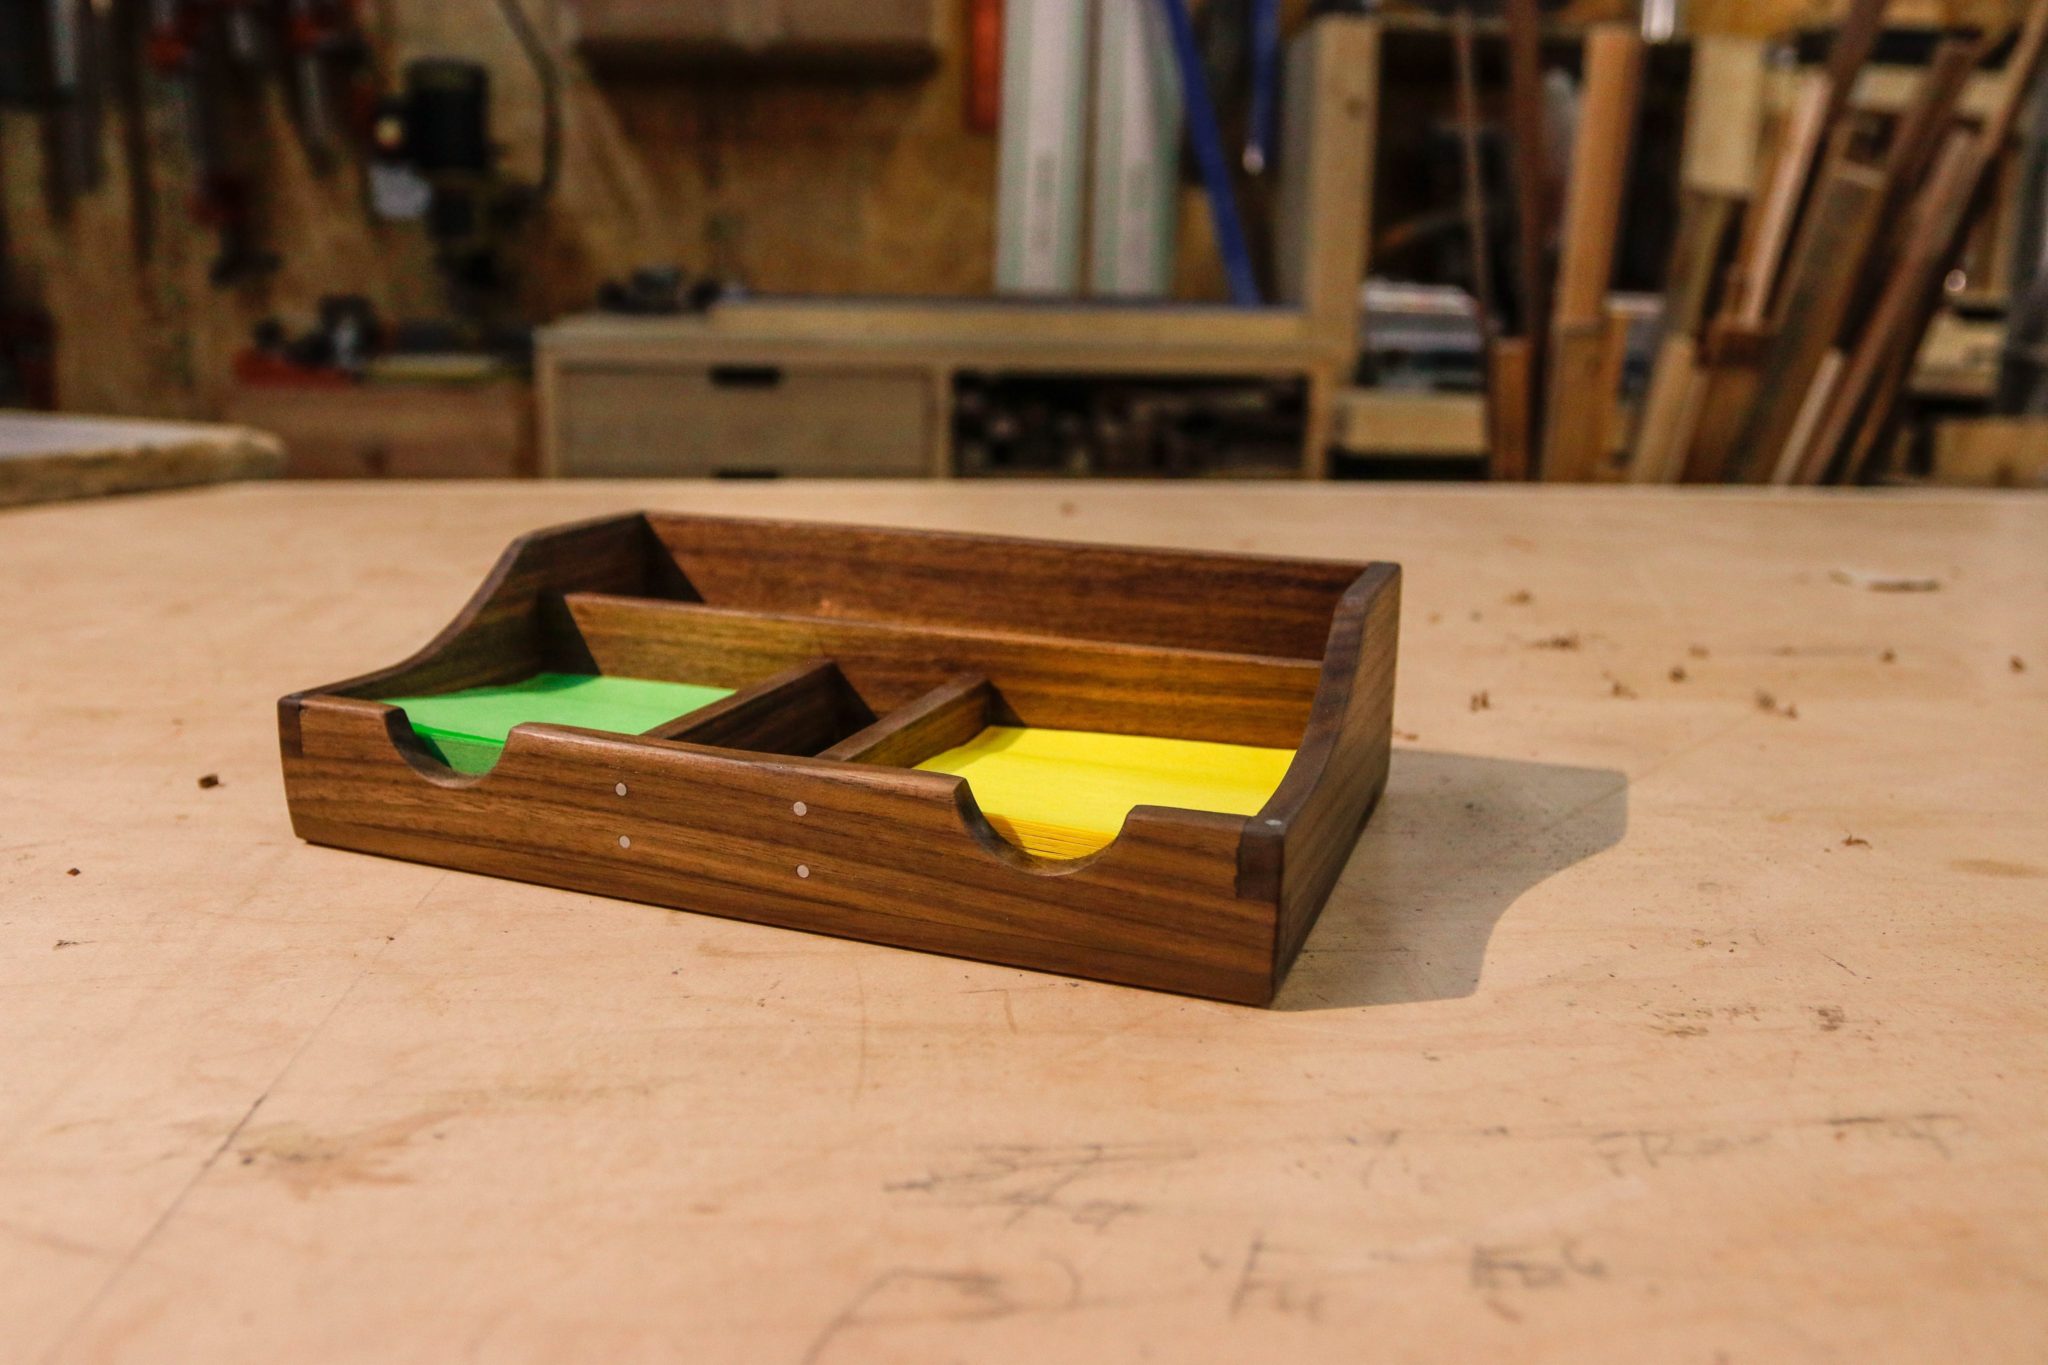
- Assemble Box
- Add Accent Plugs
- Finish
Square Stock

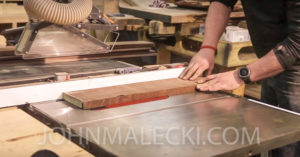
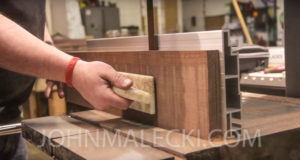
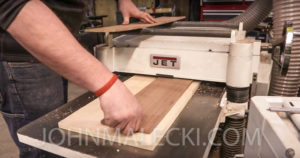
Begin by taking your scrap wood and cutting it to square. Start out by face jointing and edge jointing one side of your stock. Rip it to width and head over to the bandsaw. Use the bandsaw to re-saw to slightly over 1/4″ then plane down to a thickness around 1/4″.
This piece for me was was roughly over 6″ x 1″ x 20″
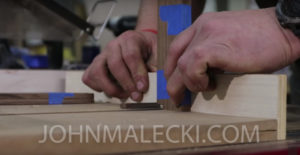
Layout & Cut Parts
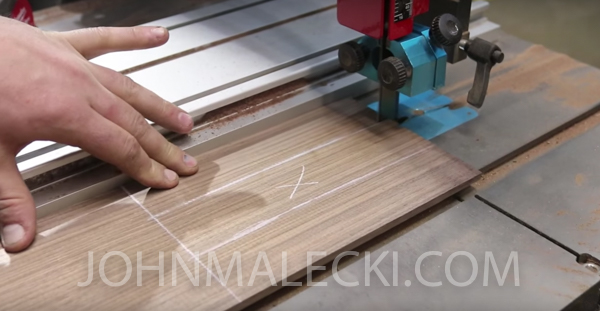
Layout your parts onto the newly squared stock. I recommend using the bandsaw to cut the parts because of the thinner kerf on the saw blade. You can use the table saw.
Cut Joinery
Cut your joinery in the preferred method of your choosing. I chose box joints for this build. They’re simple and easy, and look great. For a simple box joint jig you can check out Steve Ramsey from Woodworking for Mere Mortals video here.
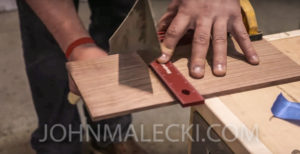
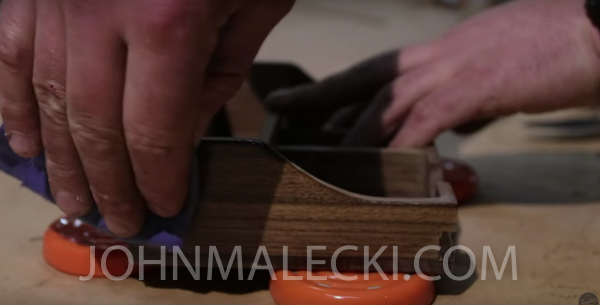
Cut Curves
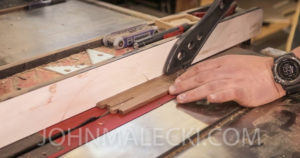
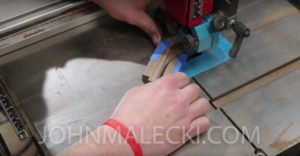
Cut your curves for the sides on the bandsaw. I tape the pieces together so they match perfectly. This is also when you want to rip the front down to width. I do this now so i can make sure the joinery for the box matches when I use the box joint jig. Yes, it is a bit more wasteful. But having a tight joint is worth it.
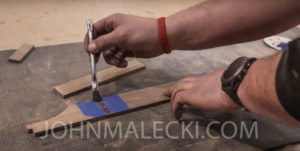
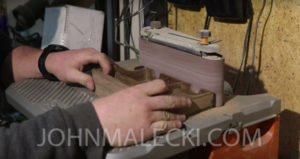
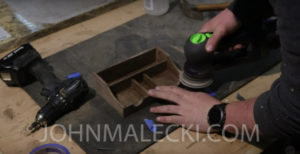
Sand the curves to match on a spindle sander. Also cut the finger holes in the front. I use a forester Bit on the drill press for this. 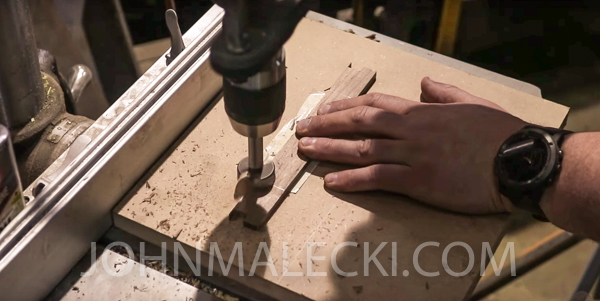
Assemble Box
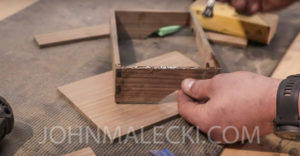
Now you want to begin the assembly of the box.Cut the base to size ( you can also cut it over sized and trim it to a perfect fit with a router after). I use epoxy for this application, but only because I am lazy and wanted the 15 min dry time. It was a bad choice…..
Glue the box up in stages, begin with the outside frame. Then the bottom, finish with the inside dividers. I cut 3 1/8″ x 3 1/8″ spacers to make sure the notes fit perfectly.
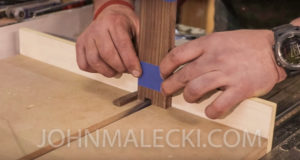
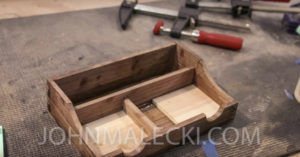
Add Accent Plugs
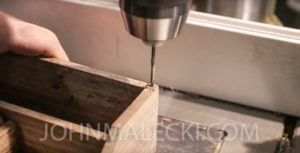

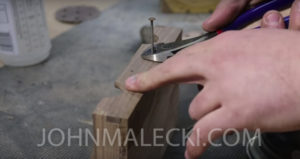
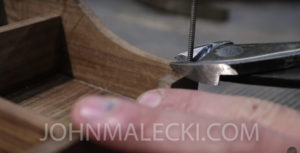
This step is completely optional. I reinforce the box joints with ring shank screws using the drill press. I cut the screws slightly above the surface. I also add a few to the front of the box for visual interest. Cut them off above the surface and sand just like the rest of the wood. Sand the box to 220 grit and wipe down with a tack cloth.
Finish
Apply a few coats of your favorite finish. I use wipe on poly from minwax here. But basically any finish will do. if you want to check out a list ofmy favorite finishes you can see those here!
Check out some other home projects!
THIS POST PROUDLY SUPPORTED BY
![]()
Please share and comment below with any questions about this product.


